In Introduction to Shaders, we discussed the two most common shader types: Vertex and Fragment. Godot offers another function to override: the Light shader. In this tutorial, we’ll see what we can do with this shader. To do so, we’ll have to look into how light is generally calculated in real-time 3D environments, how to implement this ourselves, and how to make changes to it to get a toon shader with uniform colors and hard edges.
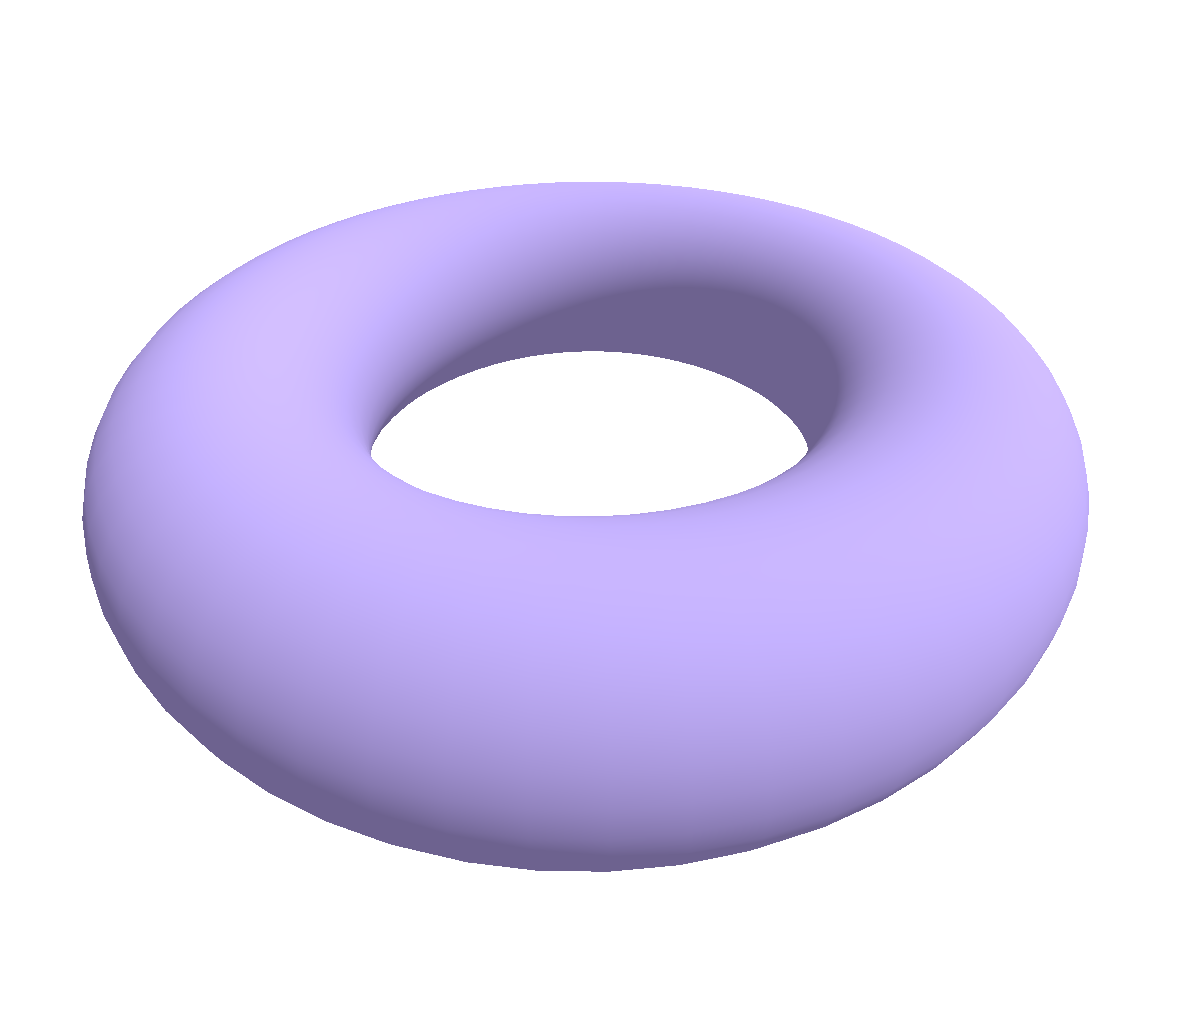
We’ll start with a torus mesh with a ShaderMaterial which sets a color in the fragment shader (e.g. ALBEDO = vec3(0.5, 0.4, 0.9);):
Introduction
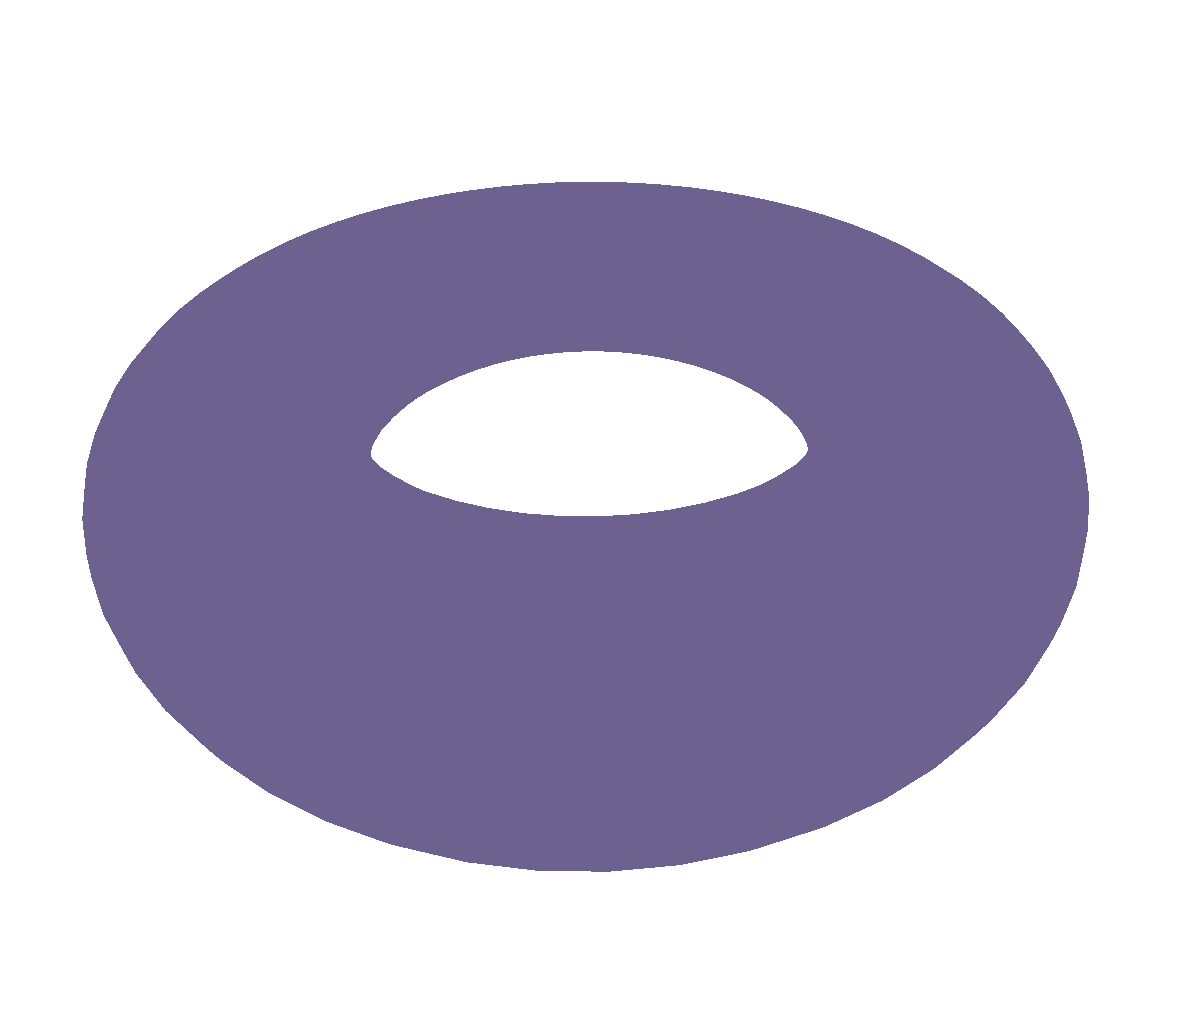
Godot exposes the light shader as a separate function because this allows users to only override the default lighting logic if they really need to. However, the light() function is really just a part of the fragment shader, so the same logic applies: the function runs for every pixel on the screen and the variables we have access to are interpolated from the nearest applicable vertex values. As soon as we define the light() function, all shading from our object disappears, and it appears in dark, uniform colors. That’s because we now have to deal with all lighting logic ourselves.
Putting some special cases aside, materials generally exhibit diffuse and specular lighting. These are also the types of lighting we’ll have to implement to get the shading we’re used to. Diffuse lighting is the uniform brightness an object has when it is lit; on rough surfaces such as paper, diffuse light is the primary type of lighting. Specular light, on the other hand, are the bright reflection spots that depend on the viewing angle. This type of light dominates when a surface is smooth and glossy. Most surfaces have a mix of both; their relationship is what changes under the hood when you modify the “roughness” slider in a normal material.
So how do we implement these types of lighting ourselves?
Diffuse Lighting
When we think about it, what does the brightness of diffuse lighting depend on? One aspect is definitely the light direction. Another is the orientation of the surface: when light hits a surface directly, the surface is bright, whereas if the surface is at a steep angle, it’s dark. In shaders, we have the angle of a surface in the form of the normal vector (the vector at a right angle from the surface). So, in other words: when the normal vector and the light direction are parallel, the light directly hits the surface, and the surface is maximally bright. On the other hand, if the normal vector and the light direction are at a right angle, the surface is not lit at all.
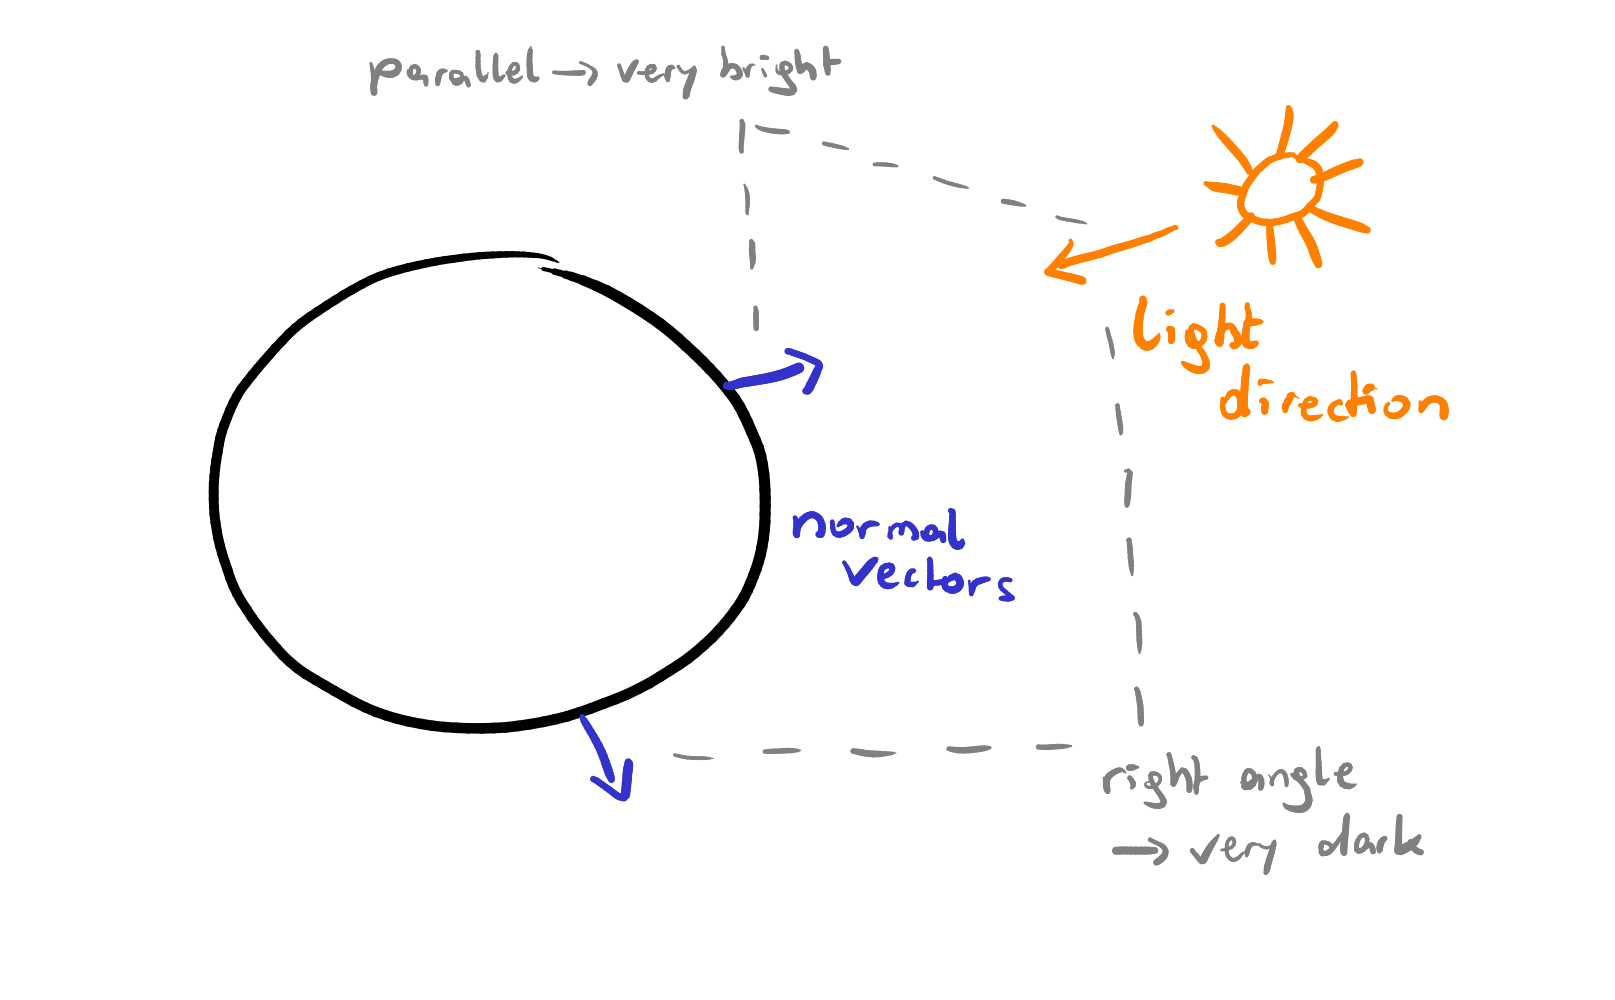
This is a perfect match for the dot product between vectors: when dealing with vectors of length 1, the result is 1 if they are parallel, and it’s 0 when they are orthogonal. dot() is a function we can use in shaders, and we have access to NORMAL (the normal vector) and LIGHT (the light direction), so the implementation of diffuse light is simply:
float light() {
	float diffuse = clamp(dot(LIGHT, NORMAL), 0.0, 1.0);
	DIFFUSE_LIGHT += diffuse;
}
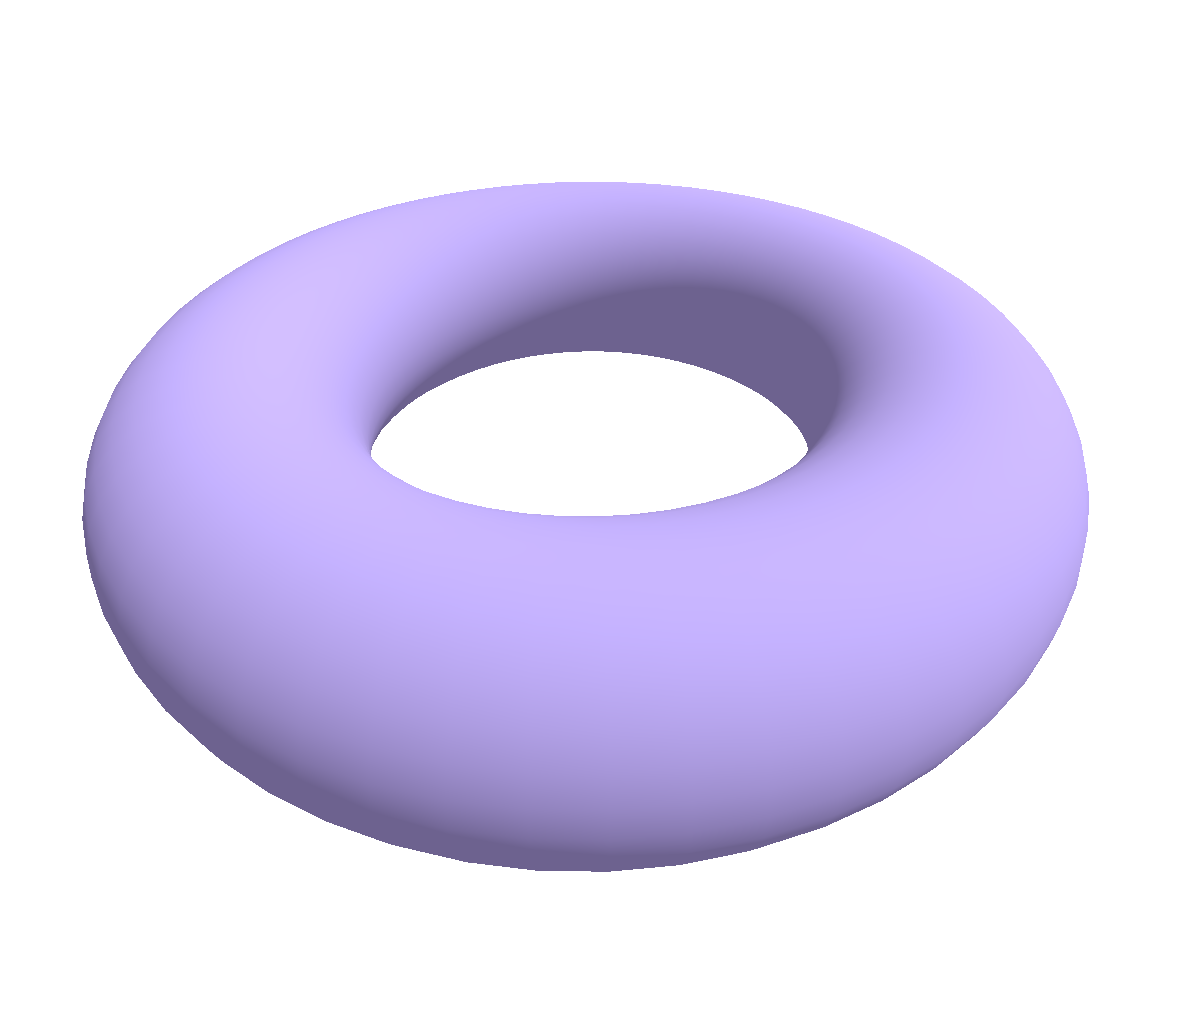
We clamp the result between 0.0 and 1.0 because we would get negative values in unlit areas, but we just want these to be 0 everywhere.
So how do we turn this into cartoon lighting? I’d say the big difference between realistic lighting and cartoon lighting is that cartoon lighting has hard edges. There are no smooth transitions between bright and dark, it’s either bright or dark; in other words, either 0.0 or 1.0. When we have a value between 0.0 and 1.0 and we want this value to be either 0.0 or 1.0, that’s a sign we need to use the step() function (as shown in Godot Shader for Beginners: Lightning Strike Effect using step and smoothstep).
So, to turn our realistic diffuse lighting into cartoon diffuse lighting, we just surround it with a step():
float diffuse = clamp(dot(LIGHT, NORMAL), 0.0, 1.0);
diffuse = step(0.5, diffuse);
DIFFUSE_LIGHT += diffuse;
And that gives us a hard edge between light and dark:
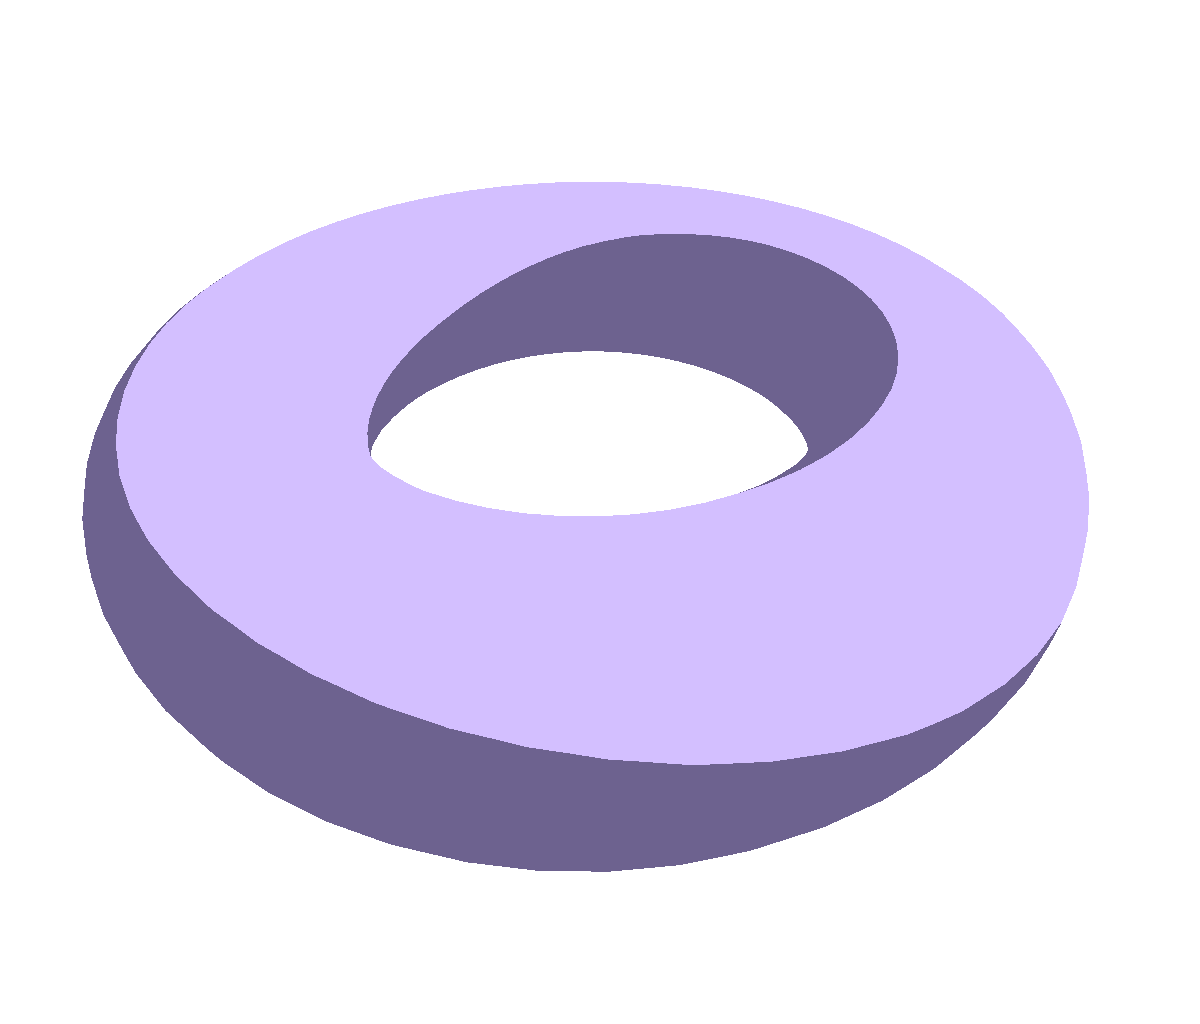
Specular Lighting
Just like diffuse lighting, specular lighting probably depends on the light direction and the surface orientation. However, as noted before, specular hightlights shift when we change the viewing angle. Therefore, the view vector should play a role as well.
Specular light is light that is reflected from the surface. Therefore, it’s high when the normal vector of the surface is “in the middle” of the light direction and the view direction. In mathematical terms, we can get “the middle” of two vectors with length 1 by adding and normalizing them (essentially the average of both vectors). We can compare this result against the surface normal (again, with a dot product) and that is our specular amount!
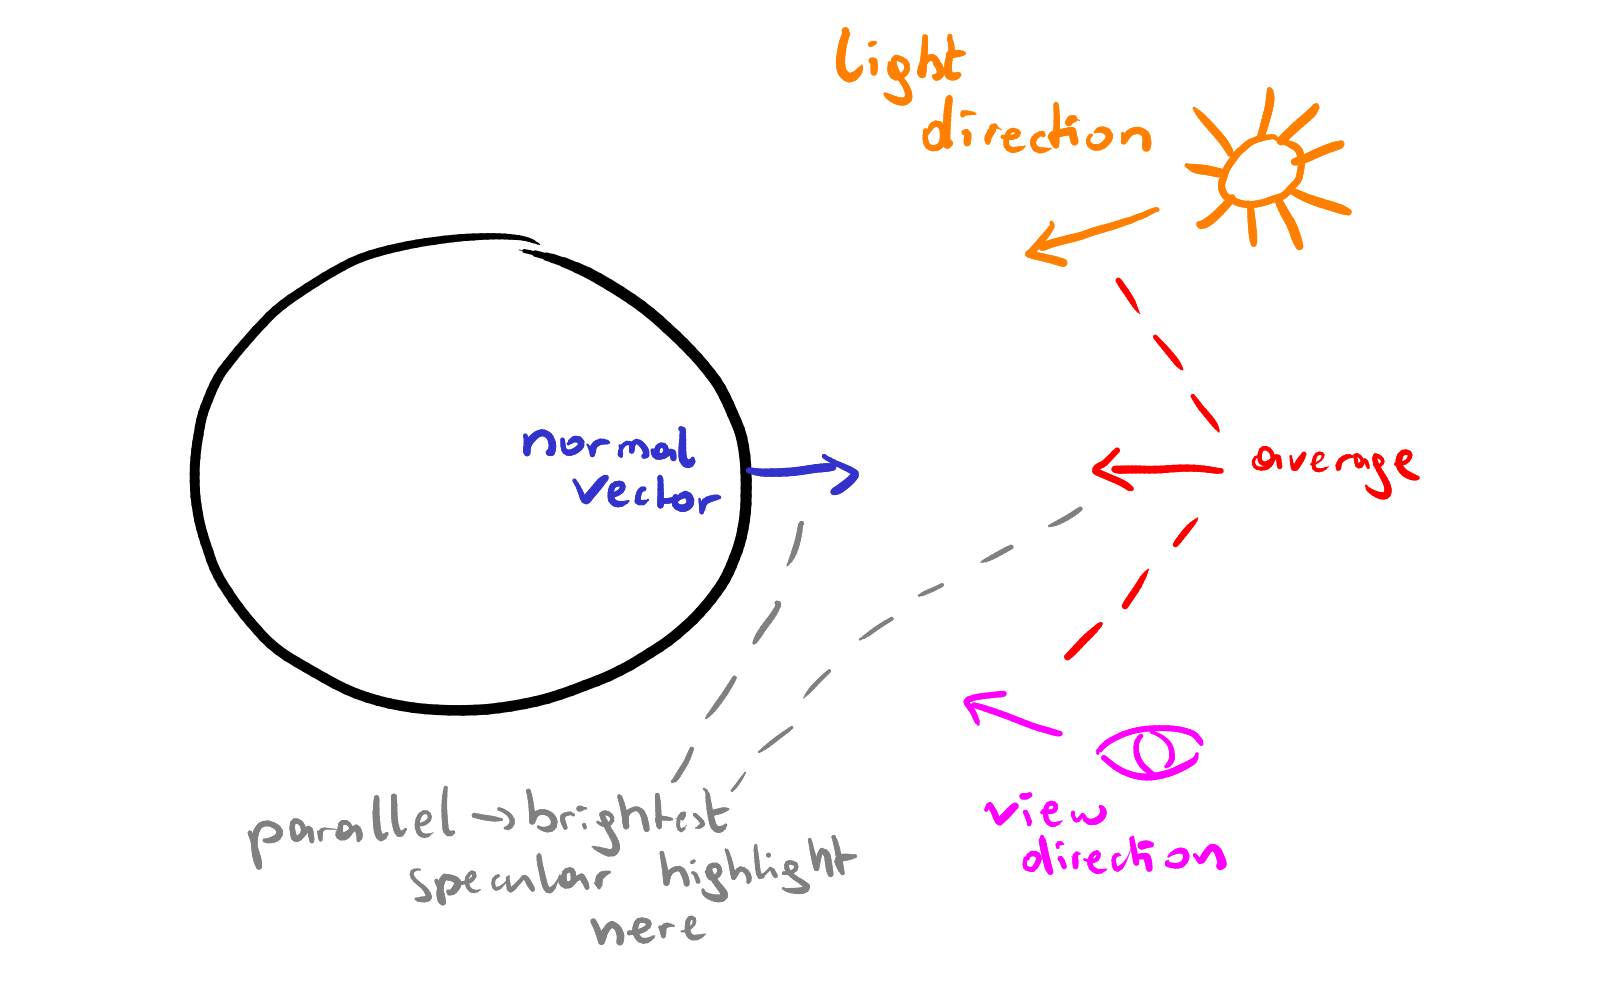
In shader code:
float specular = dot(NORMAL, normalize(LIGHT + VIEW));
SPECULAR_LIGHT += specular;
However, by default, this just creates one large and bright specular spot:
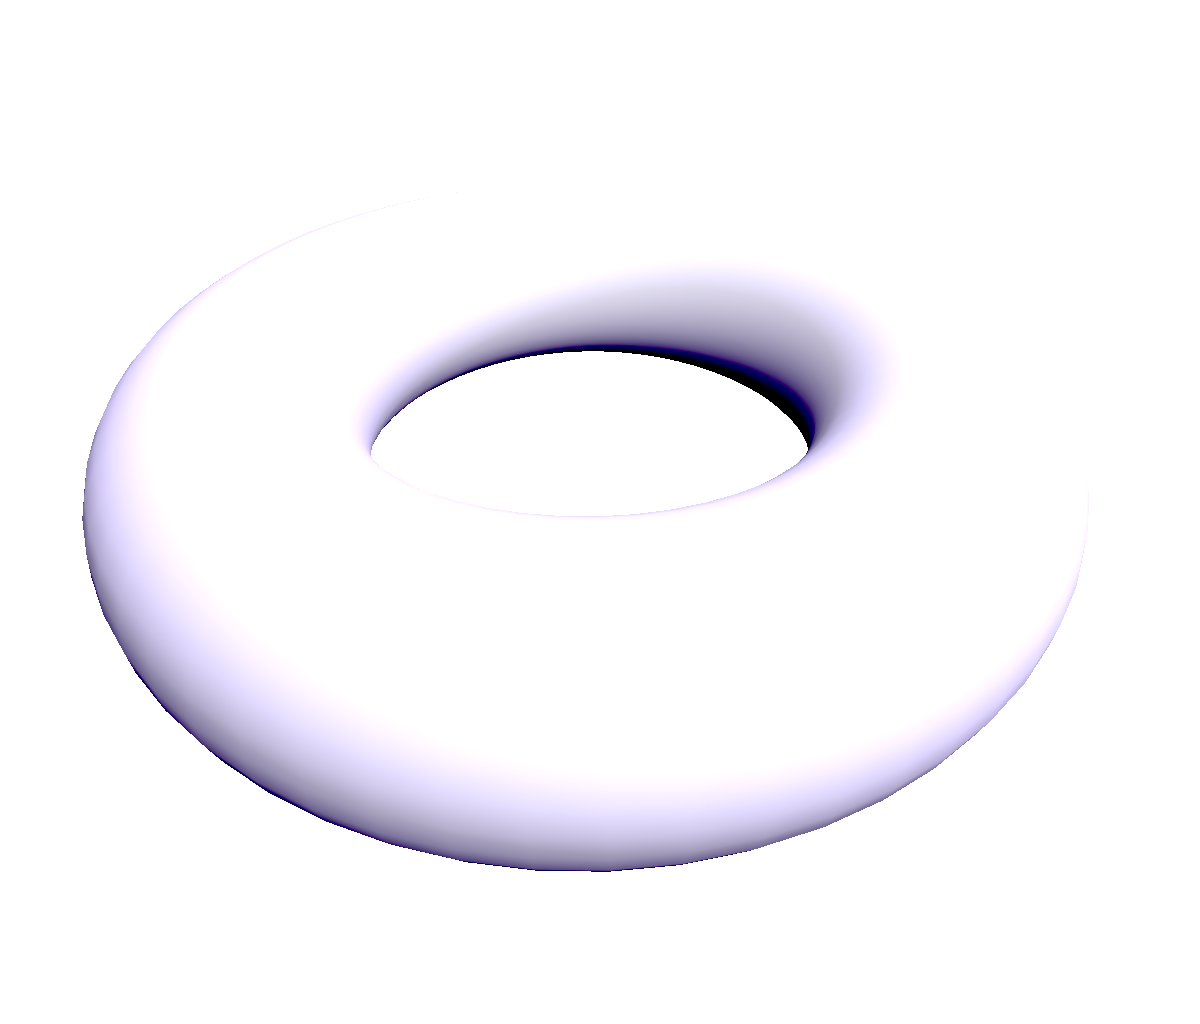
In order to turn these into proper highlights - small spots of high brightness - we need to scale the result so that everything close to 0.0 gets even closer to 0.0 and only values close to 1.0 stay where they are. We can do this by just putting the result to the power of a high number, e.g. 50:
float specular = pow(dot(NORMAL, normalize(LIGHT + VIEW)), 50.0);
SPECULAR_LIGHT += specular;
And that looks more like real specular hightlights:
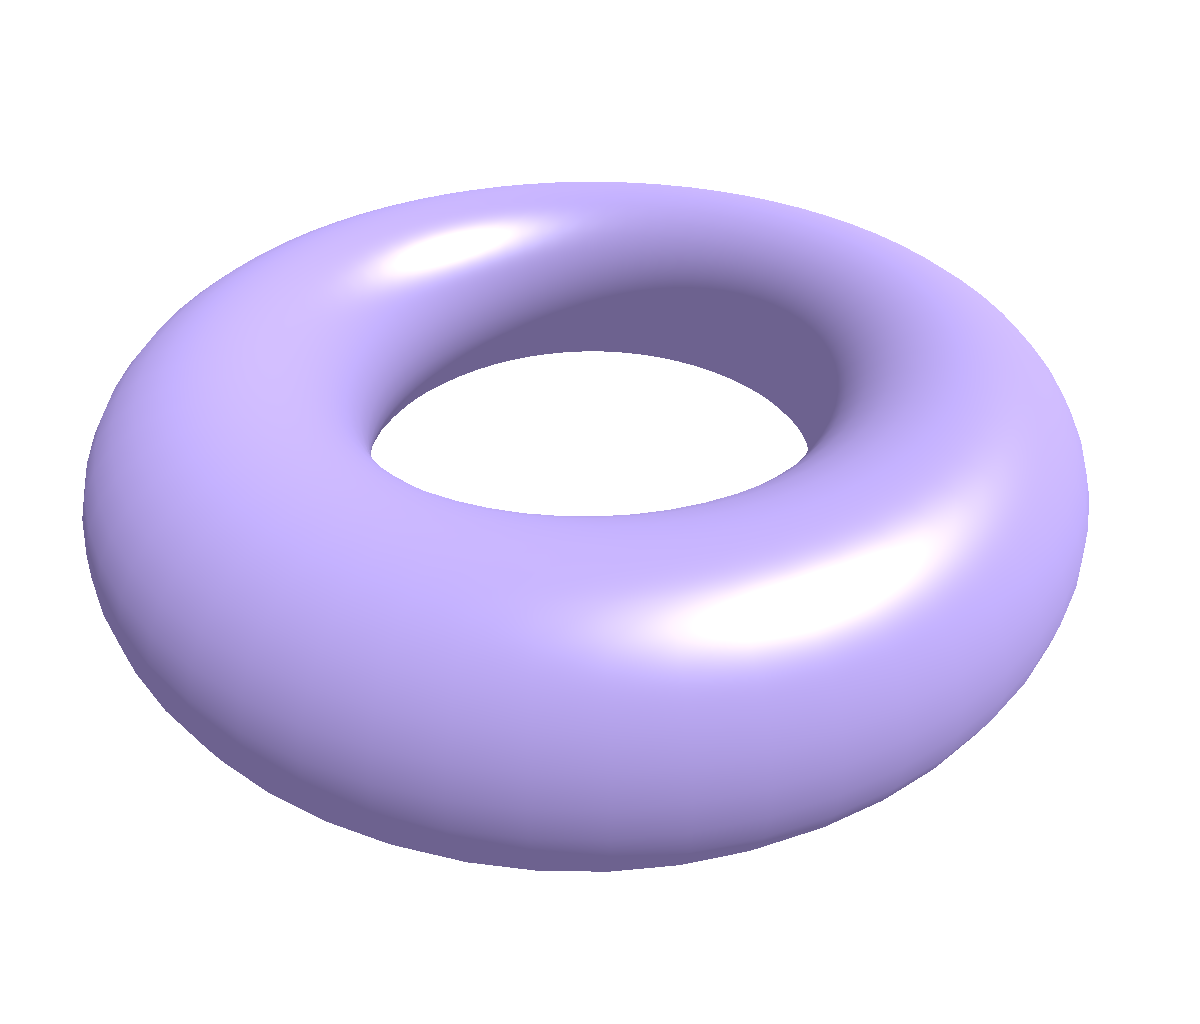
You can vary the size of the highlights by changing 50.0 to something higher (for smaller spots) or smaller (for larger spots).
Now, again, how do we turn this into cartoon lighting? Once again, the answer is hard edges, and again, we can do this with the step() function:
float specular = pow(dot(NORMAL, normalize(LIGHT + VIEW)), 50.0);
specular = step(0.5, specular);
SPECULAR_LIGHT += specular;
Combined with the cartoony diffuse lighting:
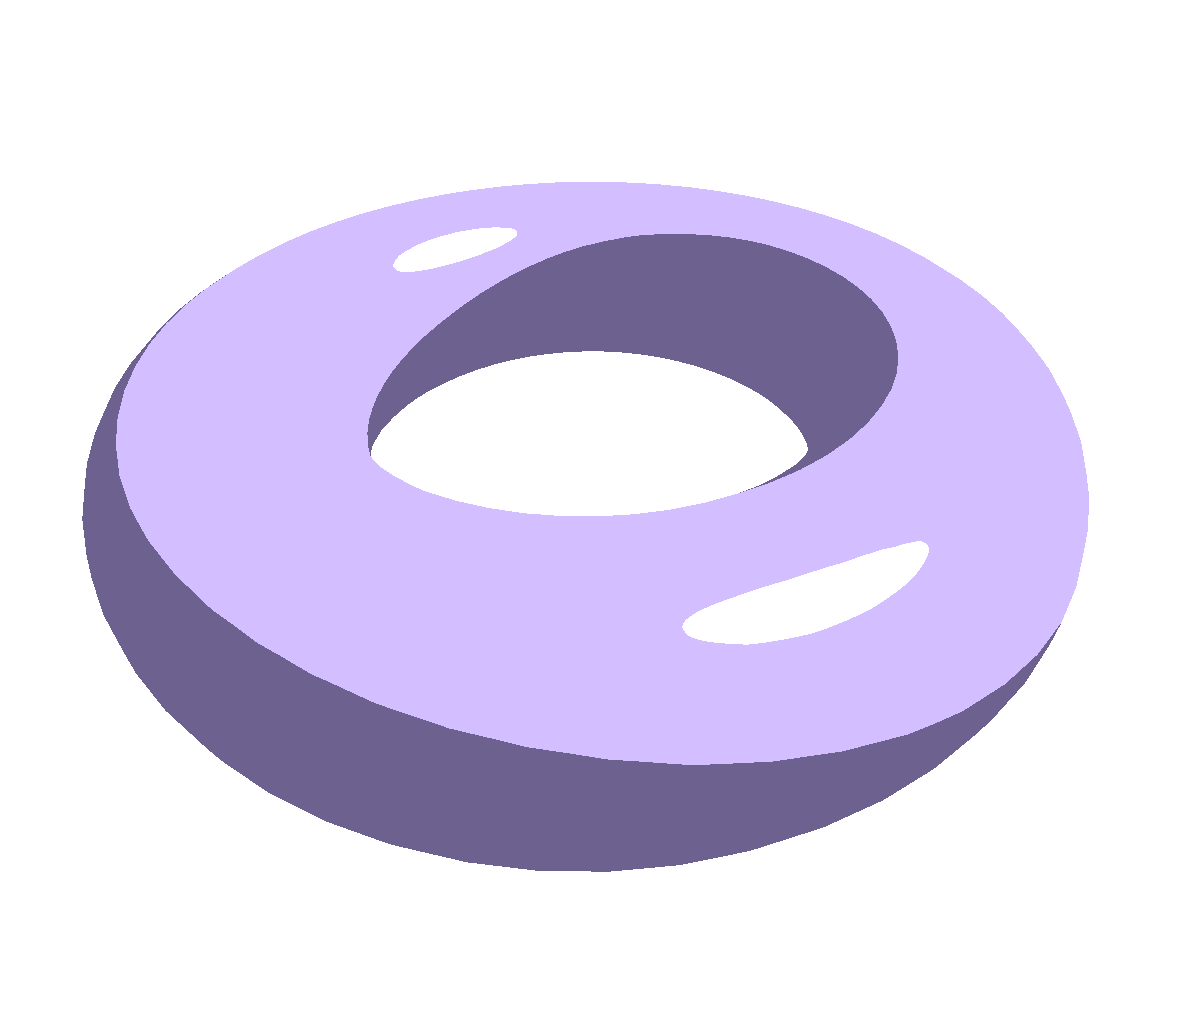
Rim Lighting
As a bonus, we’ll add rim lighting to our shader, since it allows us to use the concepts we learned about in another way and also because it looks quite nice in a toon shader. Rim lighting is light that is strong along the silhouette of an object - at its rim - depending on the viewing angle.
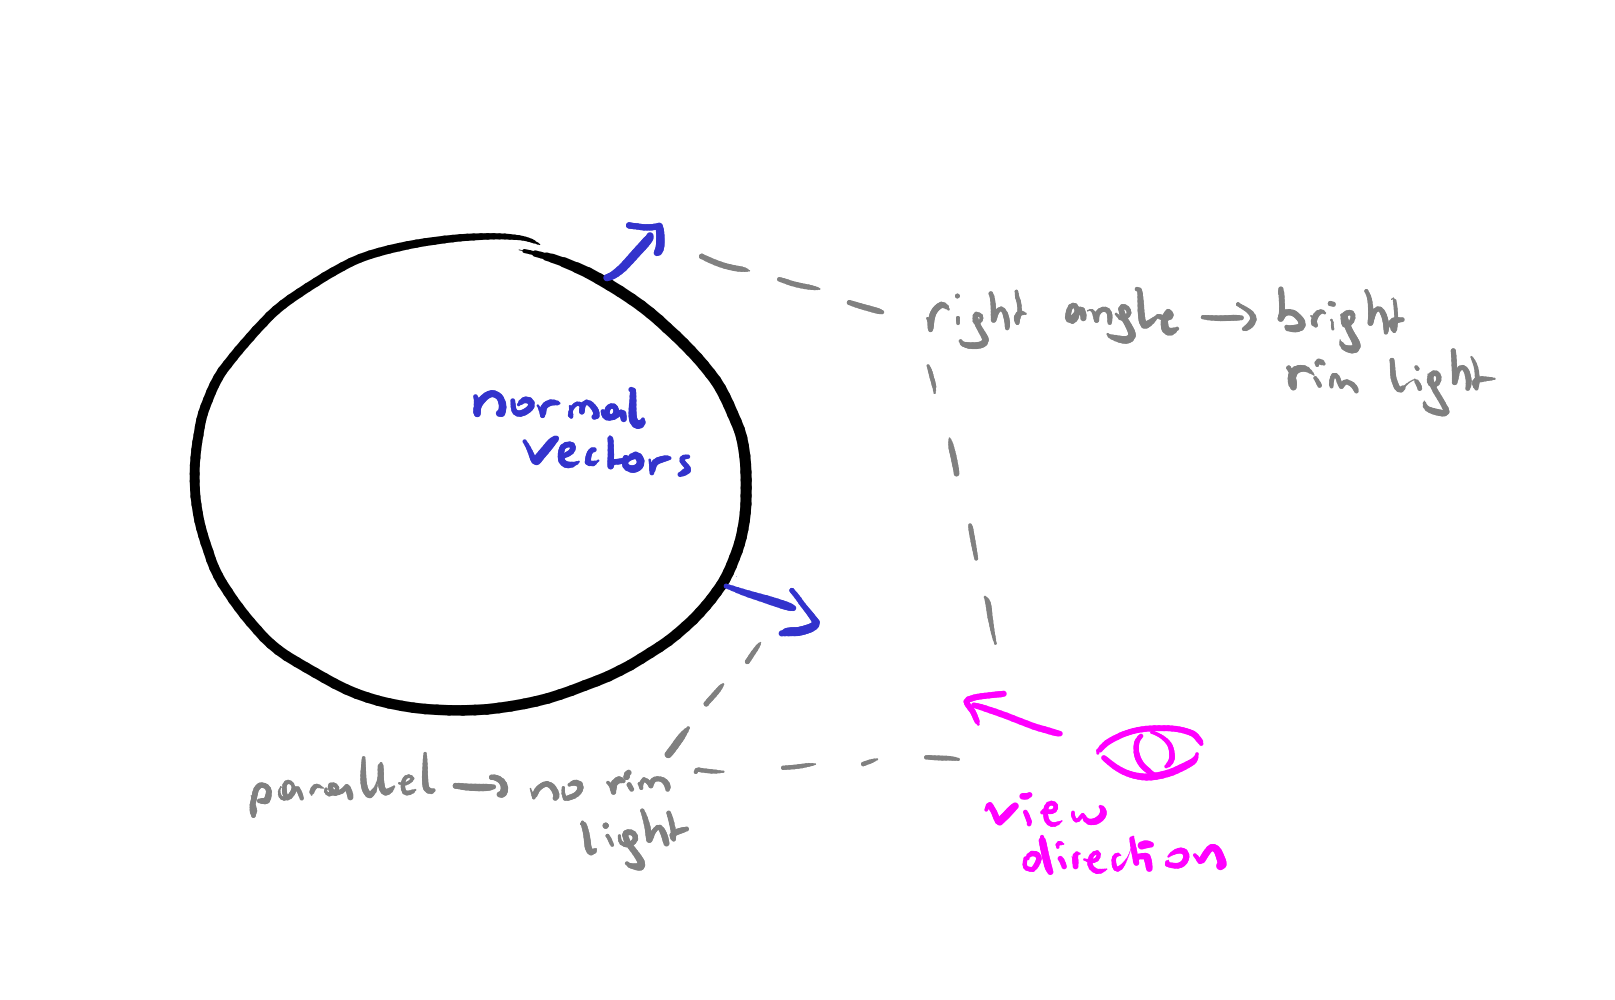
In shader terms: rim lighting is high when the viewing direction and the normal vector of a surface are nearly orthogonal. Therefore, we can implement it by calculating the dot product of NORMAL and VIEW, inverting the result, and adding that to our diffuse light.
float rim_light = 1.0 - clamp(dot(NORMAL, VIEW), 0.0, 1.0);
DIFFUSE_LIGHT += rim_light;
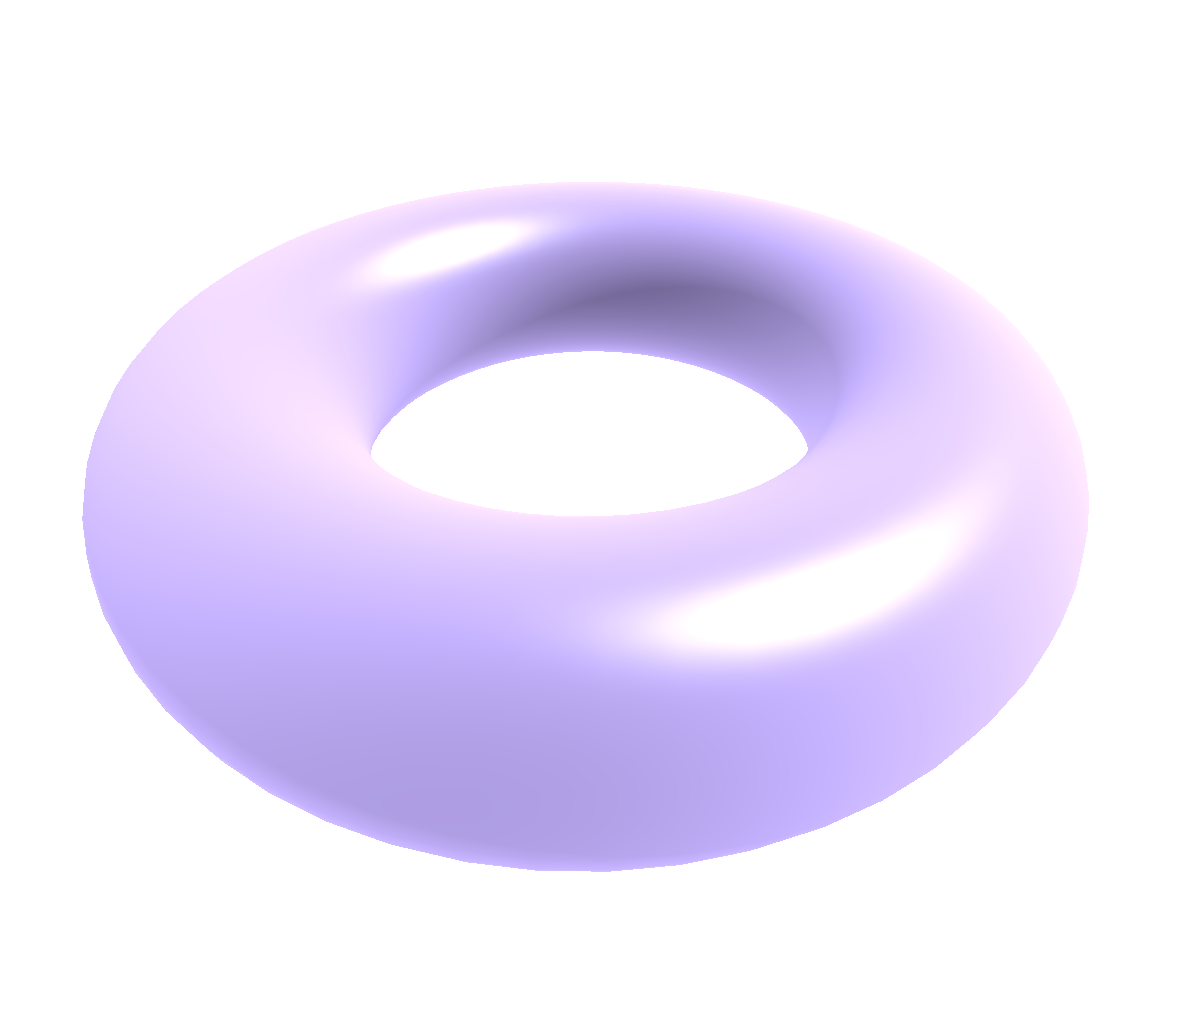
Just like specular lighting, we can make this more pronounced by putting it to the power of another number, e.g. 3.0:
float rim_light = pow(1.0 - clamp(dot(NORMAL, VIEW), 0.0, 1.0), 3.0);
DIFFUSE_LIGHT += rim_light;
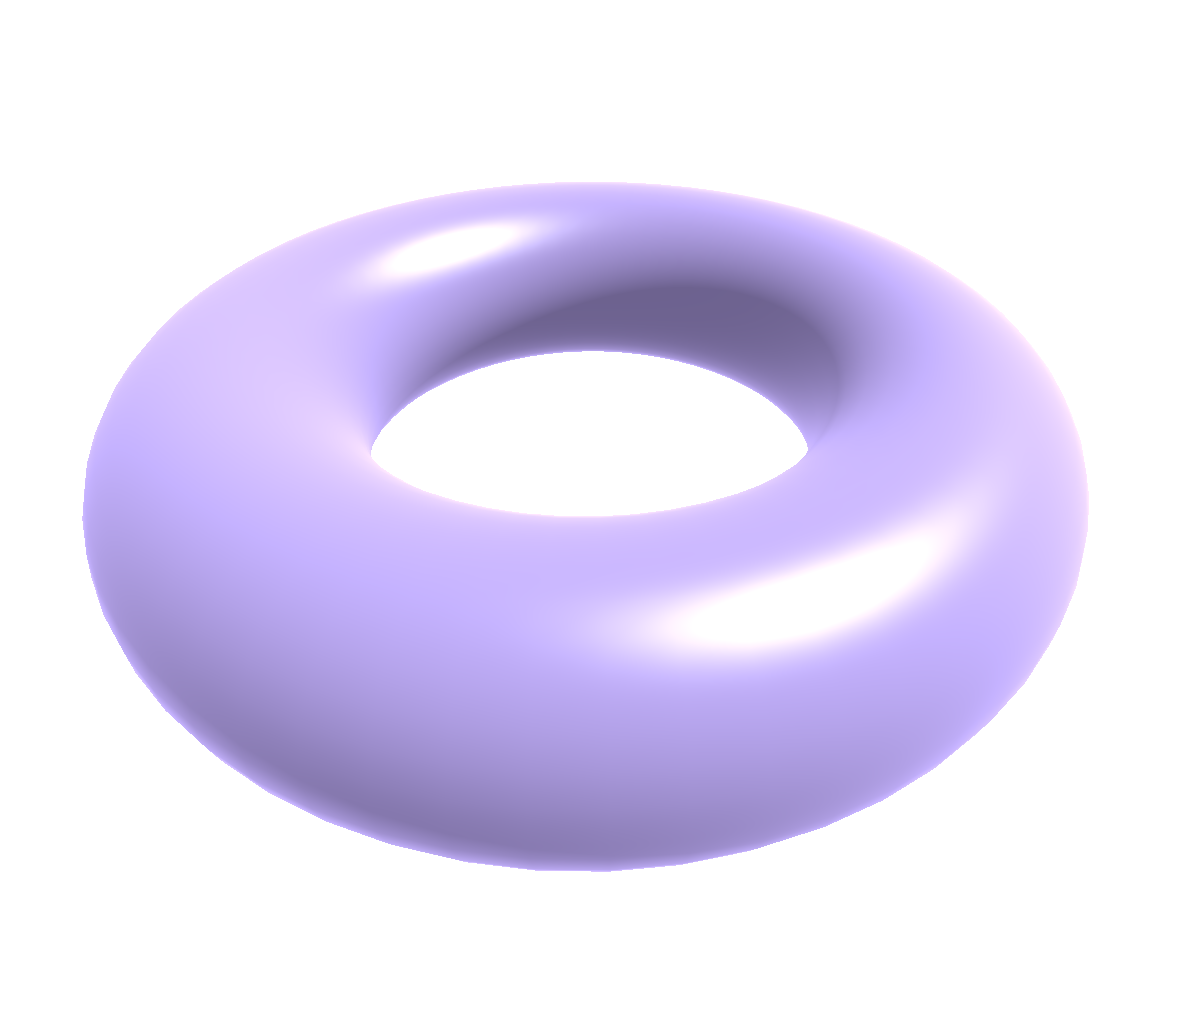
And, as you may have already guessed, we can make this cartoony by adding a step():
float rim_light = pow(1.0 - clamp(dot(NORMAL, VIEW), 0.0, 1.0), 3.0);
rim_light = step(0.4, rim_light);
DIFFUSE_LIGHT += rim_light;
The combined result looks like this:
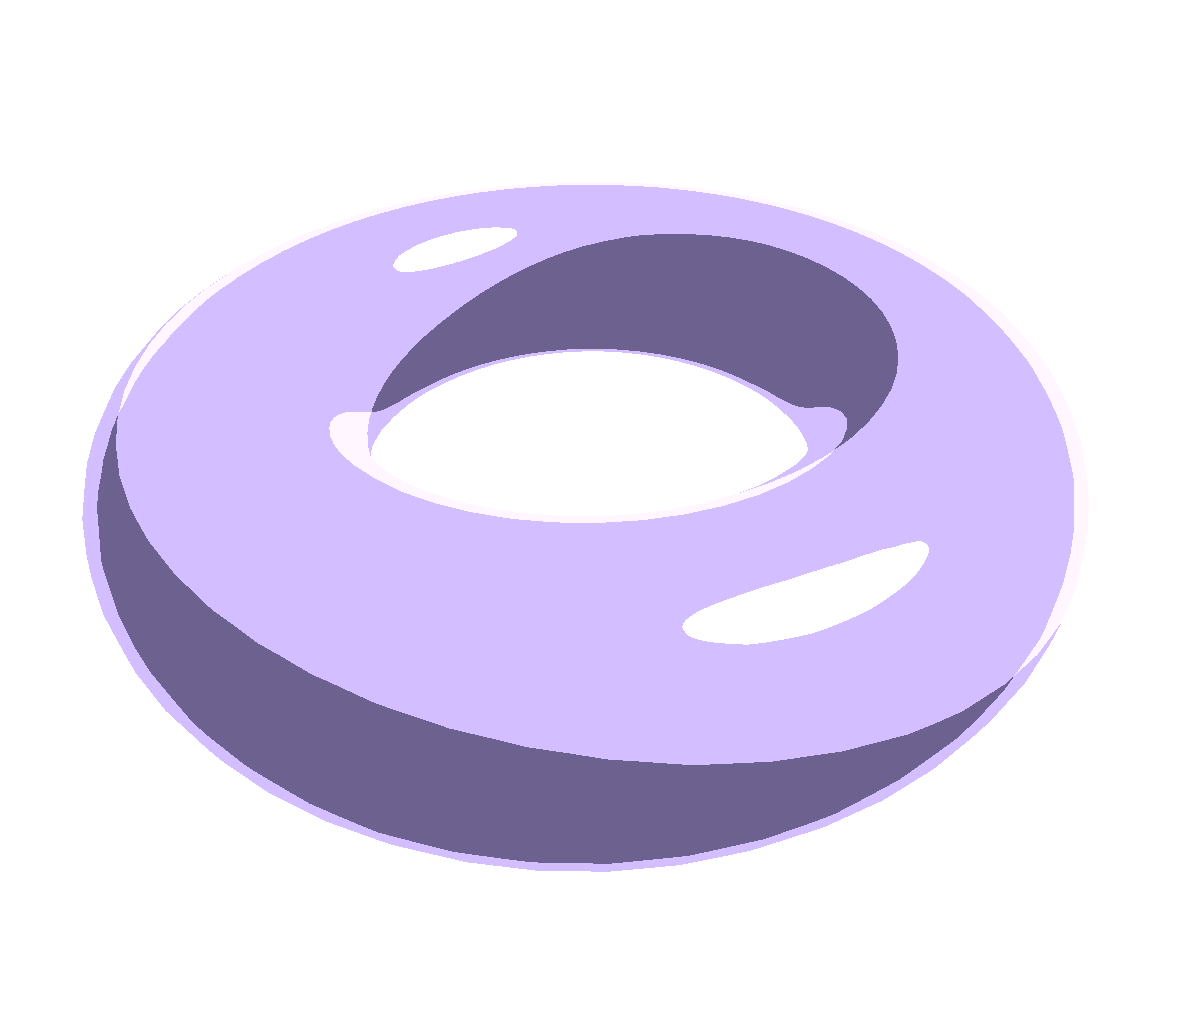
To make the object a bit more visually clear, we might want to apply rim lighting only when the diffuse light is 1.0, and decrease its strength a bit. We can simply change the last line to:
DIFFUSE_LIGHT += rim_light * diffuse * 0.5;
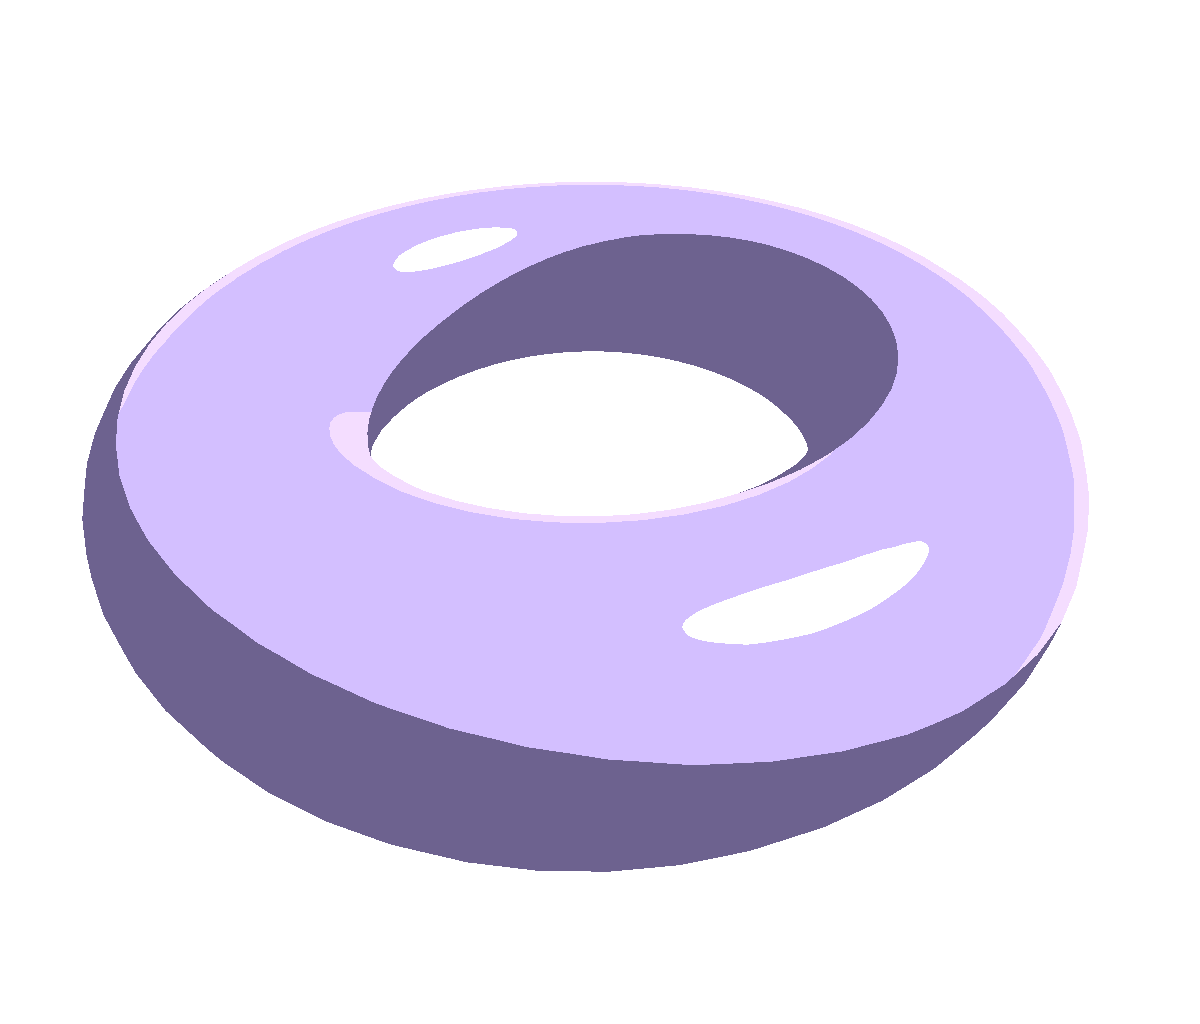
That’s it! This is our completed toon light shader:
shader_type spatial;

void fragment() {
	ALBEDO = vec3(0.5, 0.4, 0.9);
}

void light() {
	// Diffuse light
	float diffuse = clamp(dot(LIGHT, NORMAL), 0.0, 1.0);
	diffuse = step(0.5, diffuse);
	DIFFUSE_LIGHT += diffuse;

	// Specular light
	float specular = pow(dot(NORMAL, normalize(LIGHT + VIEW)), 50.0);
	specular = step(0.5, specular);
	SPECULAR_LIGHT += specular;

	// Rim light
	float rim_light = pow(1.0 - clamp(dot(NORMAL, VIEW), 0.0, 1.0), 3.0);
	rim_light = step(0.4, rim_light);
	DIFFUSE_LIGHT += rim_light * diffuse * 0.5;
}
Of course, you can combine this with any other shader code. Since Godot allows you to change an existing StandardMaterial3D into a ShaderMaterial (just right-click and select “Convert to ShaderMaterial”), you can define any material you like in the editor, convert it to a shader, and add the light() function.
Additional Fine-Tuning
In addition to changing the parameters such as the powers and step thresholds, I want to show two more things that may be useful for slightly different cartoon styles:
Slightly Smooth Edges
The hard edges we used above can look harsh and produce aliasing. If we want to have a slight transitional space between 0.0 and 1.0, we can exchange the step() functions to smoothstep(), for example:
diffuse = smoothstep(0.3, 0.5, diffuse);
That gives us a smoother, but still cartoony result:
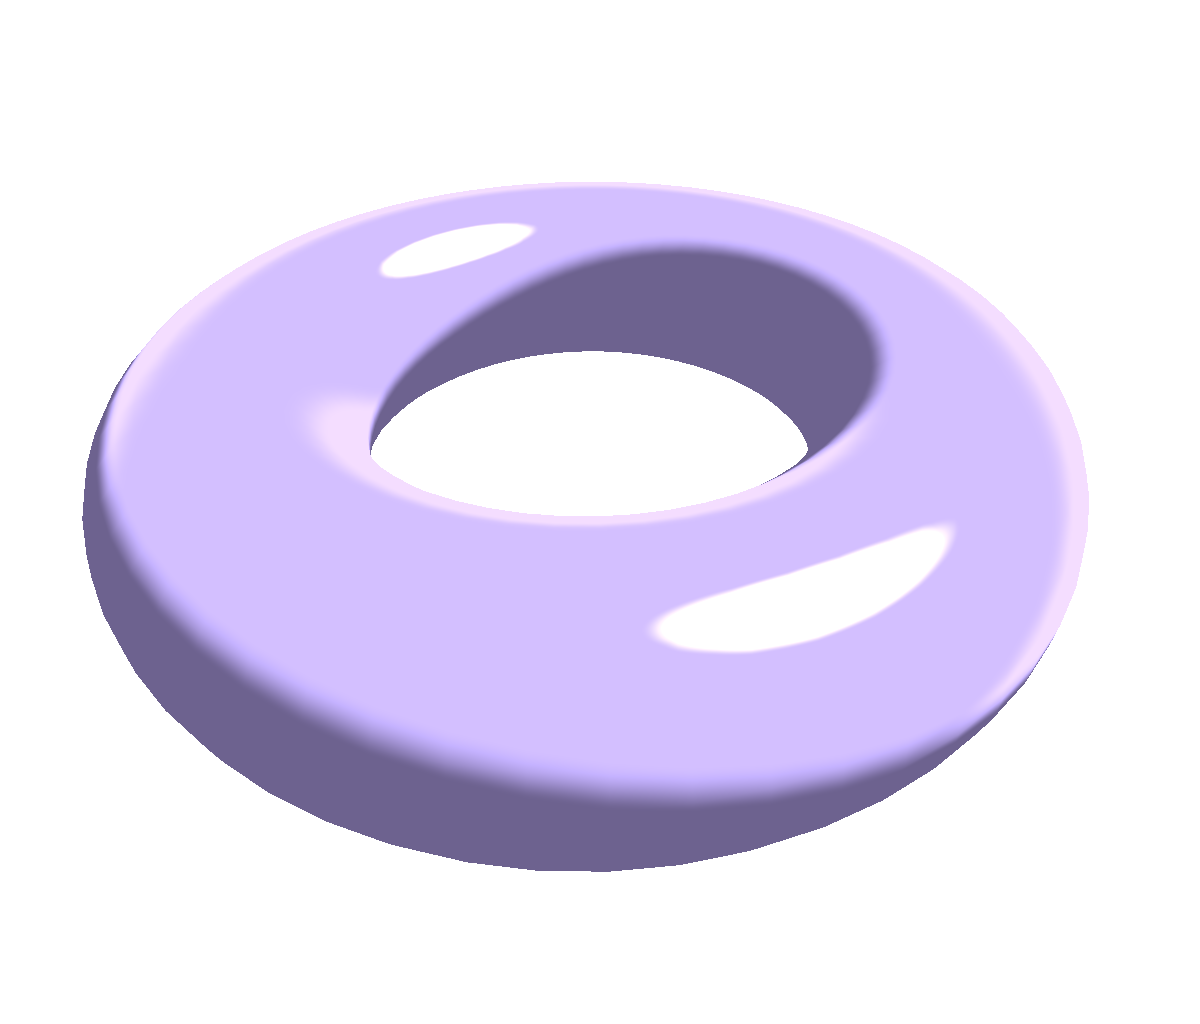
Multiple Hard Edges
You may want to have hard light edges, but not limited to either 0.0 or 1.0, but with a few steps in-between. There’s a mathematical trick for that: If you have a number between 0.0 and 10.0 and want it to have 10 hard steps, you just remove the fraction (using round() or floor()). So, if you have a number between 0.0 and 1.0 and want 10 hard steps, you can simply multiply it by 10.0, floor it, and divide the result by 10.0 again, leaving you with a number within 0.0 and 1.0 clamped to steps of 0.1.
This gives you a slightly different cartoon aesthetic:
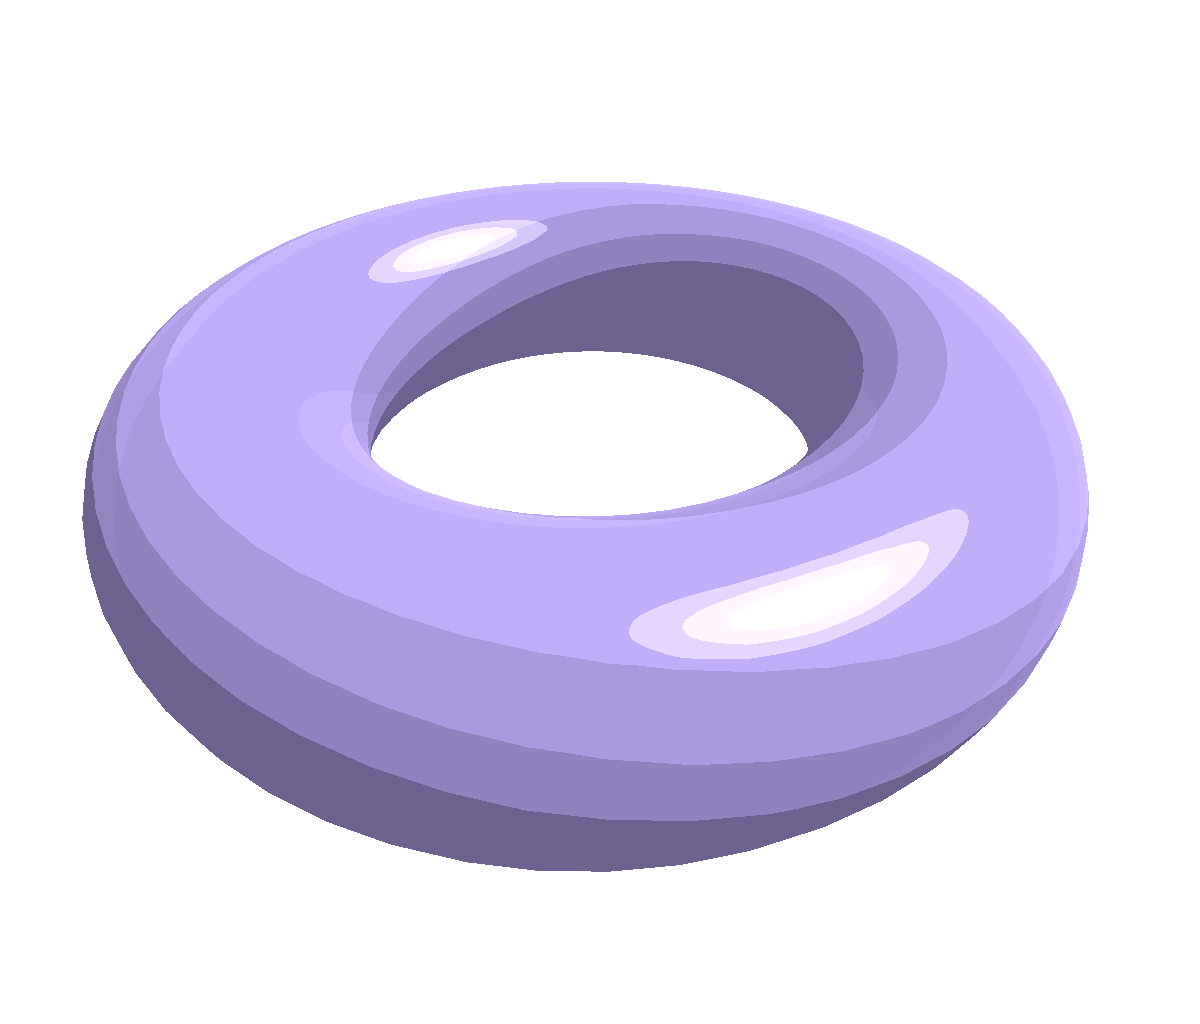
In this screenshot, I changed all step(0.5, value) to floor(value * 4.0) / 4.0.