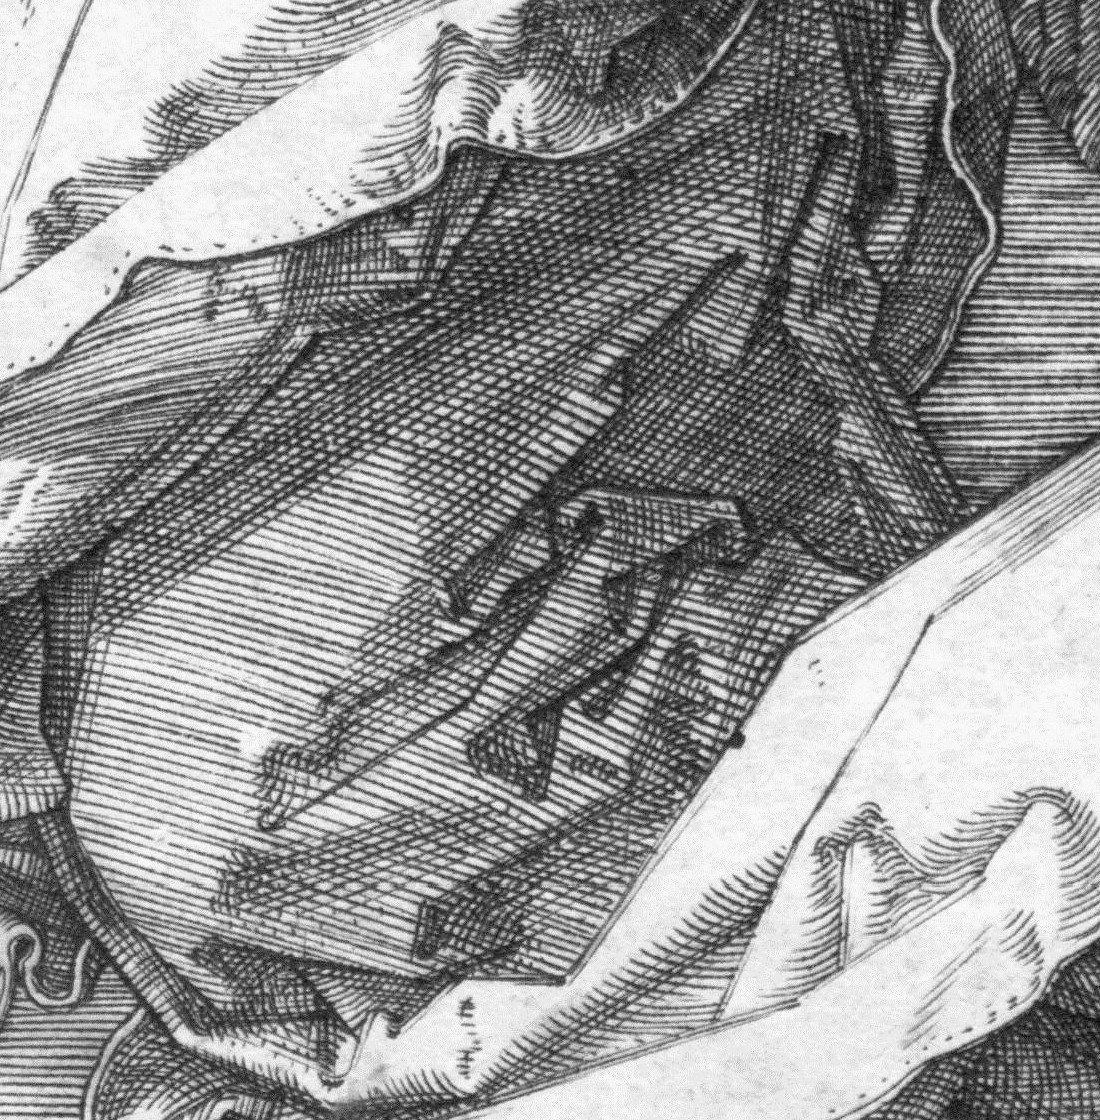
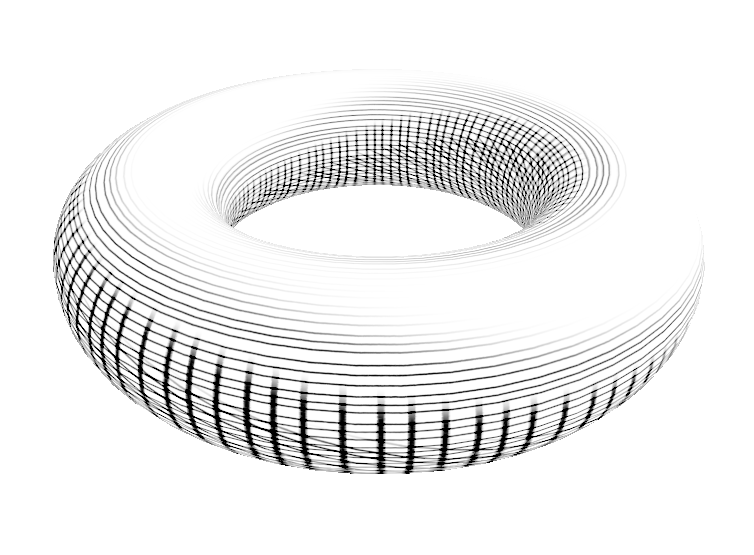
In Understanding Godot Light Shaders and Light Calculations by Implementing a Toon Light Shader, we discussed light shaders and how you can use functions like step() to switch from realistic to toon lighting. Here, we will use light shaders along with a hand-painted texture to create a cross-hatching effect. Cross-hatching is a (pencil) shading technique that looks like this:

Bright areas are left blank, whereas darker areas are shaded with parallel lines. The darker an area is, the more different directions of pencil strokes are added. A logical procedure for a shader could therefore look like this:
- Start with bright light.
- Check the diffuse value.
- If the diffuse value is high, subtract horizontal paint strokes from the light.
- If the diffuse value is low, subtract additional paint stroke directions.
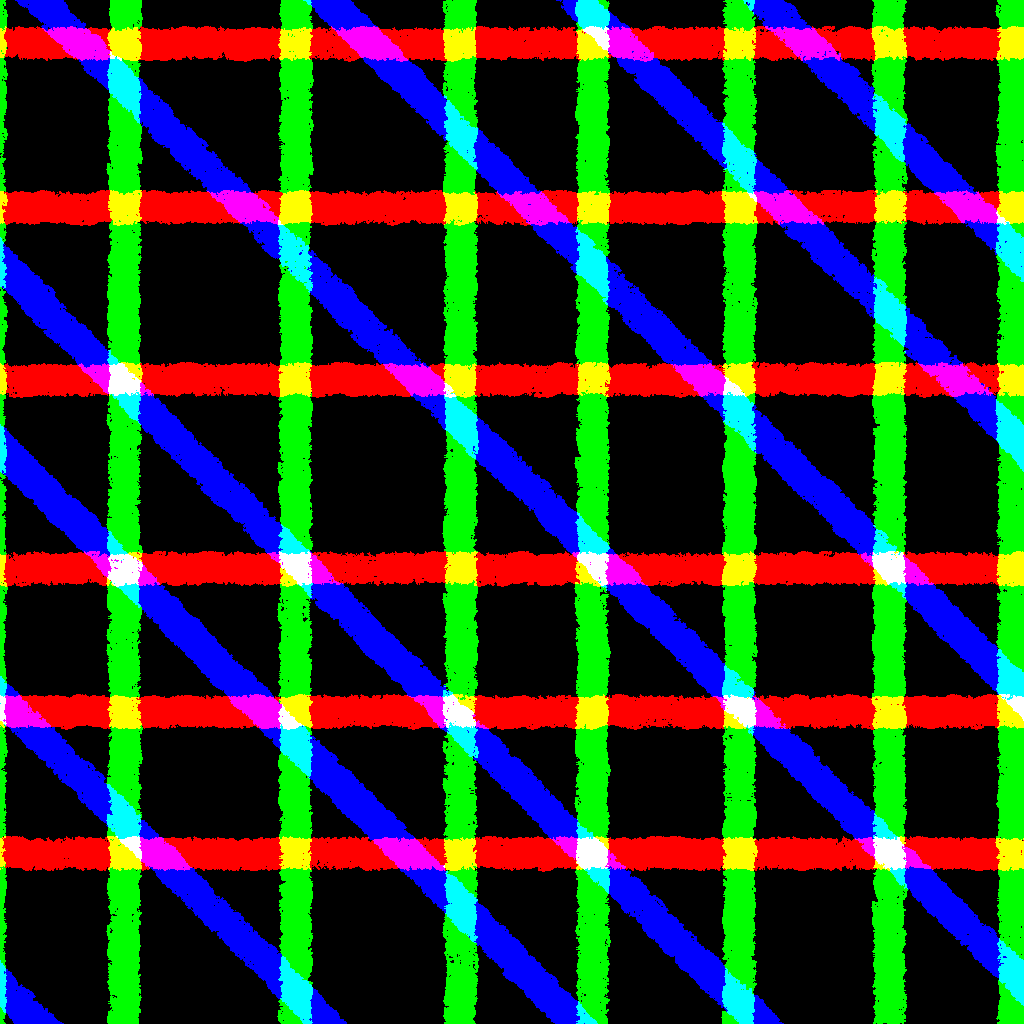
In order to be able to subtract different paint stroke directions, we’ll have to find a way to create hand-painted textures resembling cross-hatching, and design them in a way that makes it possible to “deconstruct” it to produce different shades. In order words, we need a texture that contains different paint stroke directions which we can read separately. For this, we can use the individual channels of an RGB texture: red strokes can be horizontal, green strokes vertical, and blue strokes diagonal. You can hand-paint such a texture in any way you like (even use physical pen and paper, scan it, and pack it into separate color channels), just three things are important:
- The background must be black, so that these areas are left white.
- Make sure the texture tiles. You can offset it by 1/2 its width and height to check and fill potential gaps.
- Use “Additive” blending in the paint strokes, so when e.g. red and green overlap, you get yellow.
The texture I came up with looks like this:

Now we just need a shader to read and apply this texture as we described above.
We start with bright light, i.e. a value of 1.0. The next step is to calculate the diffuse value. We do this as described in Understanding Godot Light Shaders and Light Calculations by Implementing a Toon Light Shader, by calculating the dot product between the surface normal and the light direction:
float diffuse_value = dot(LIGHT, NORMAL) * ATTENUATION;
Next, we check if this value is lower than a certain threshold and, if it is, subtract the first channel of paint strokes, which we read from the texture. Doing something if a value is higher/lower than a certain threshold should sound familiar from Godot Shader for Beginners: Lightning Strike Effect using step and smoothstep: it’s a typical use case for the step function - or, if we want to have a nice transition, smoothstep. Therefore, we can apply the first paint strokes like this:
float light_value = 1.0;
vec2 hatch_uv = UV * 13.0;

light_value -= smoothstep(0.9, 0.7,
	diffuse_value) * texture(cross_hatch_texture, hatch_uv).r;
Note that we start with a high value, 0.9, and follow with a low value, 0.7. This inverts the smoothstep, which is what we want: diffuse values greater than 0.9 should yield 0.0, whereas diffuse values smaller than 0.7 should give 1.0.
Similarly, we apply the other two channels using lower thresholds:
light_value -= smoothstep(0.6, 0.4,
	diffuse_value) * texture(cross_hatch_texture, hatch_uv).g;

light_value -= smoothstep(0.3, 0.1,
	diffuse_value) * texture(cross_hatch_texture, hatch_uv).b;
And lastly, make sure to clamp the result (we might get areas with negative values otherwise) and apply it:
light_value = clamp(light_value, 0.0, 1.0);

DIFFUSE_LIGHT += light_value;
This is how the resulting shader looks:

shader_type spatial;

uniform sampler2D cross_hatch_texture: filter_linear_mipmap_anisotropic;

void light() {
	float diffuse_value = dot(LIGHT, NORMAL) * ATTENUATION;

	float light_value = 1.0;
	vec2 hatch_uv = UV * 13.0;

	light_value -= smoothstep(0.9, 0.7,
		diffuse_value) * texture(cross_hatch_texture, hatch_uv).r;

	light_value -= smoothstep(0.6, 0.4,
		diffuse_value) * texture(cross_hatch_texture, hatch_uv).g;

	light_value -= smoothstep(0.3, 0.1,
		diffuse_value) * texture(cross_hatch_texture, hatch_uv).b;

	light_value = clamp(light_value, 0.0, 1.0);

	DIFFUSE_LIGHT += light_value;
}
Understanding this effect and how it combines hand-painting with data-driven shaders opens the door for a variety of interesting styles. Give it a try and experiment with the possibilities!
One example of a similar effect can be seen here: Pop-Art Light Shader: Halftone Shading in Godot