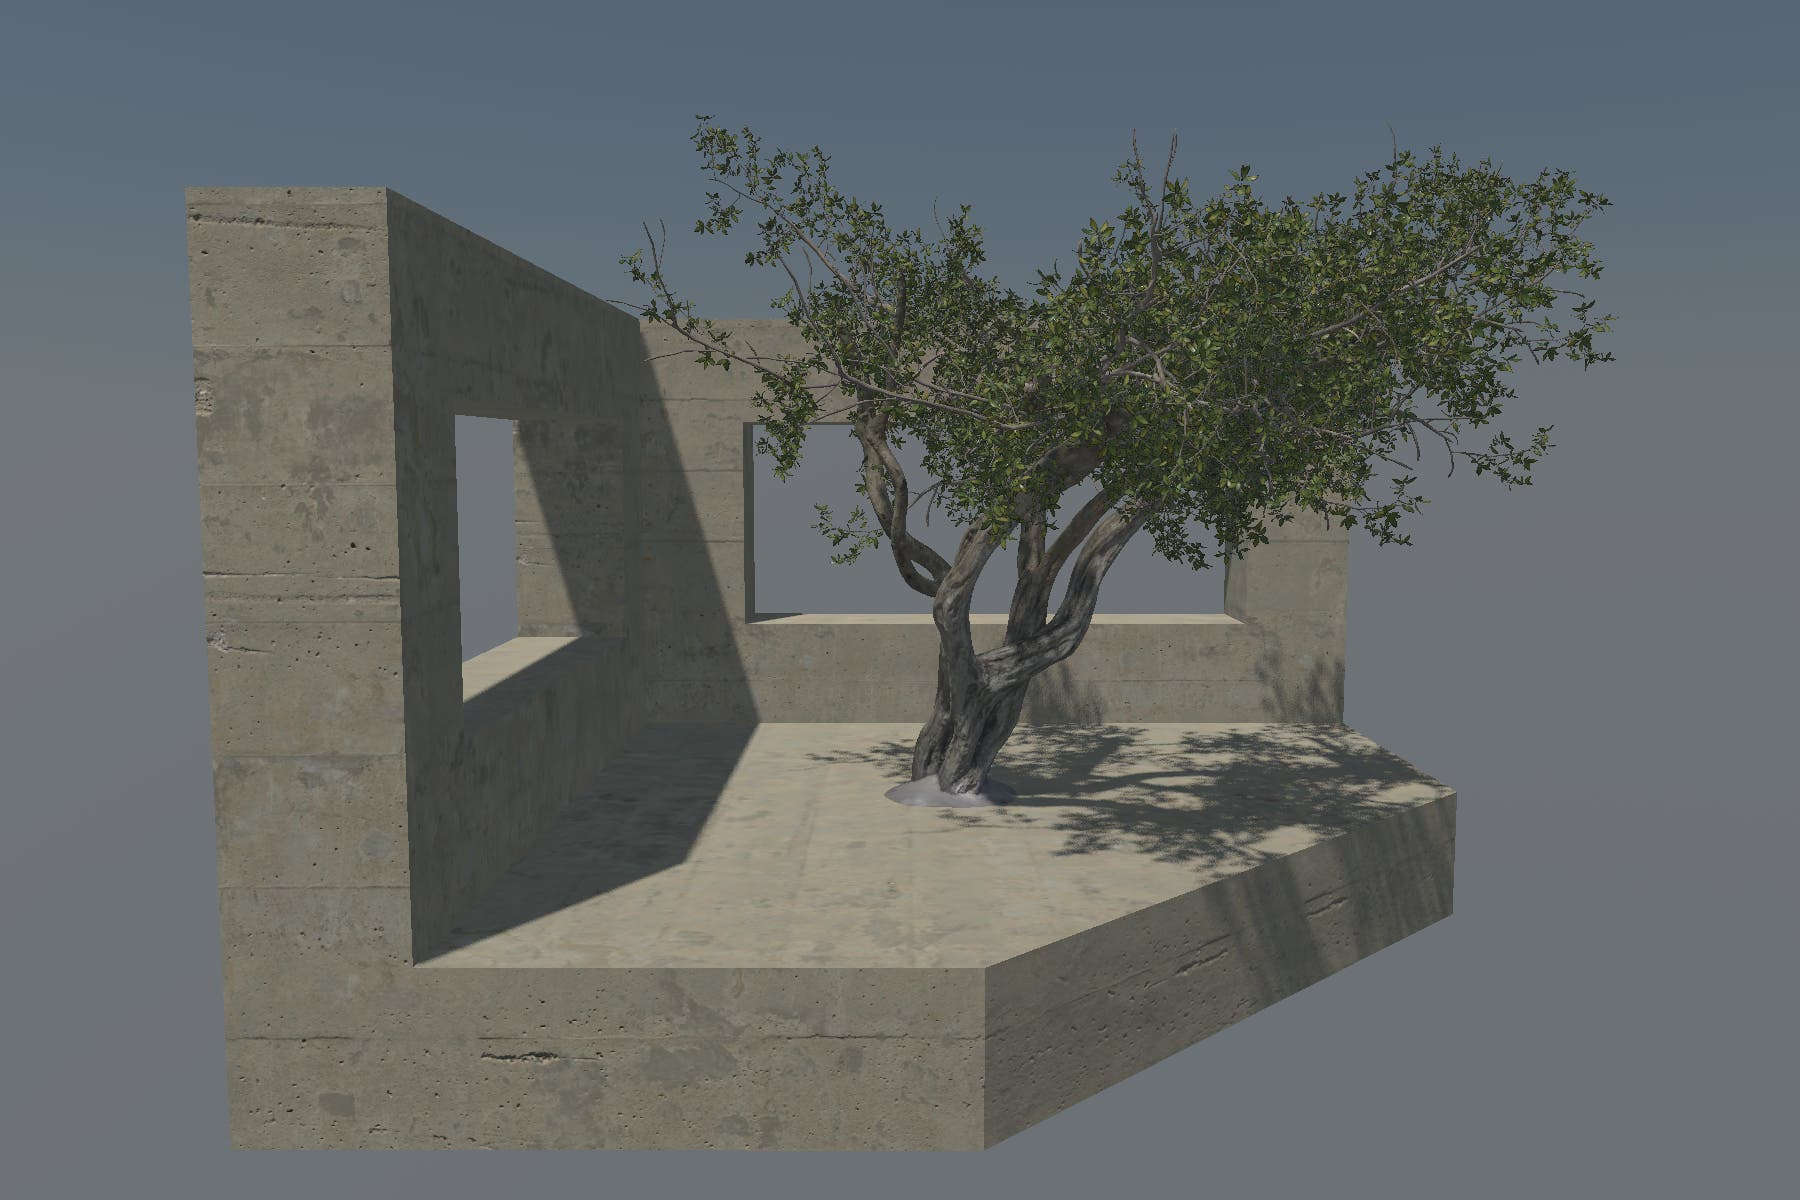
When starting up an empty 3D scene in Godot, the editor provides a default lighting and environment setup. That way, you can start working on a scene without immediately having to figure out the lighting and background of a pitch-black scene. It looks something like this:
This is a fine start as a general-purpose entry point. However, I’d argue that you’ll want to invest some time into changing this setup as soon as you get any close to working with production-ready assets; basically, as soon as your player stops being a white capsule. The environment and lighting have a huge effect on a game’s look and feel, and not only will a proper setup affect your world and level design, it also just makes building levels and testing the game more fun.
In this article, I’ll go over the nodes and settings you need for a basic photorealistic scene setup. I’ll showcase a quick and easy general-purpose solution, as well as touch on the more in-depth options which you may want to look into in the future. You’ll be able to use this directly if your game is going for realistic graphics, but it’ll also be useful to understand many of the environment and lighting options if you’re going for something more stylized.
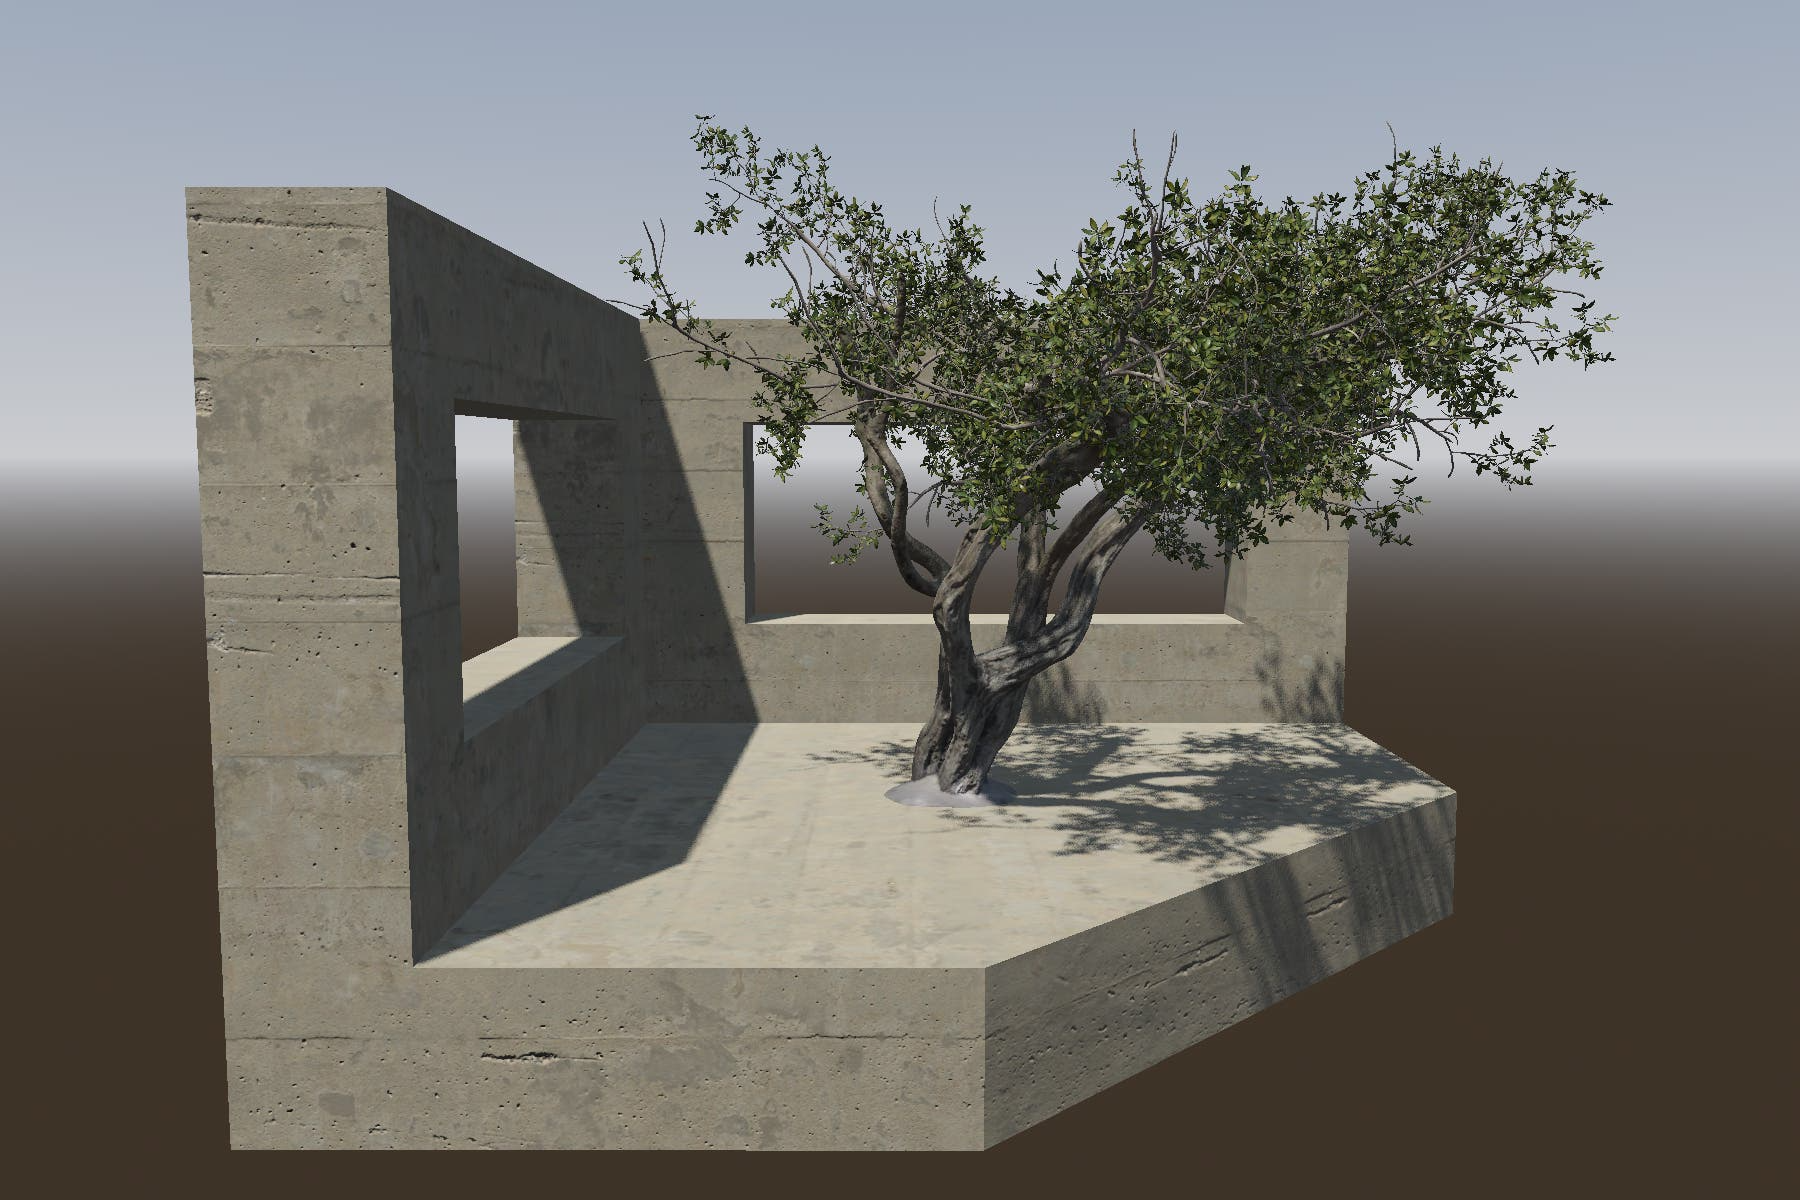
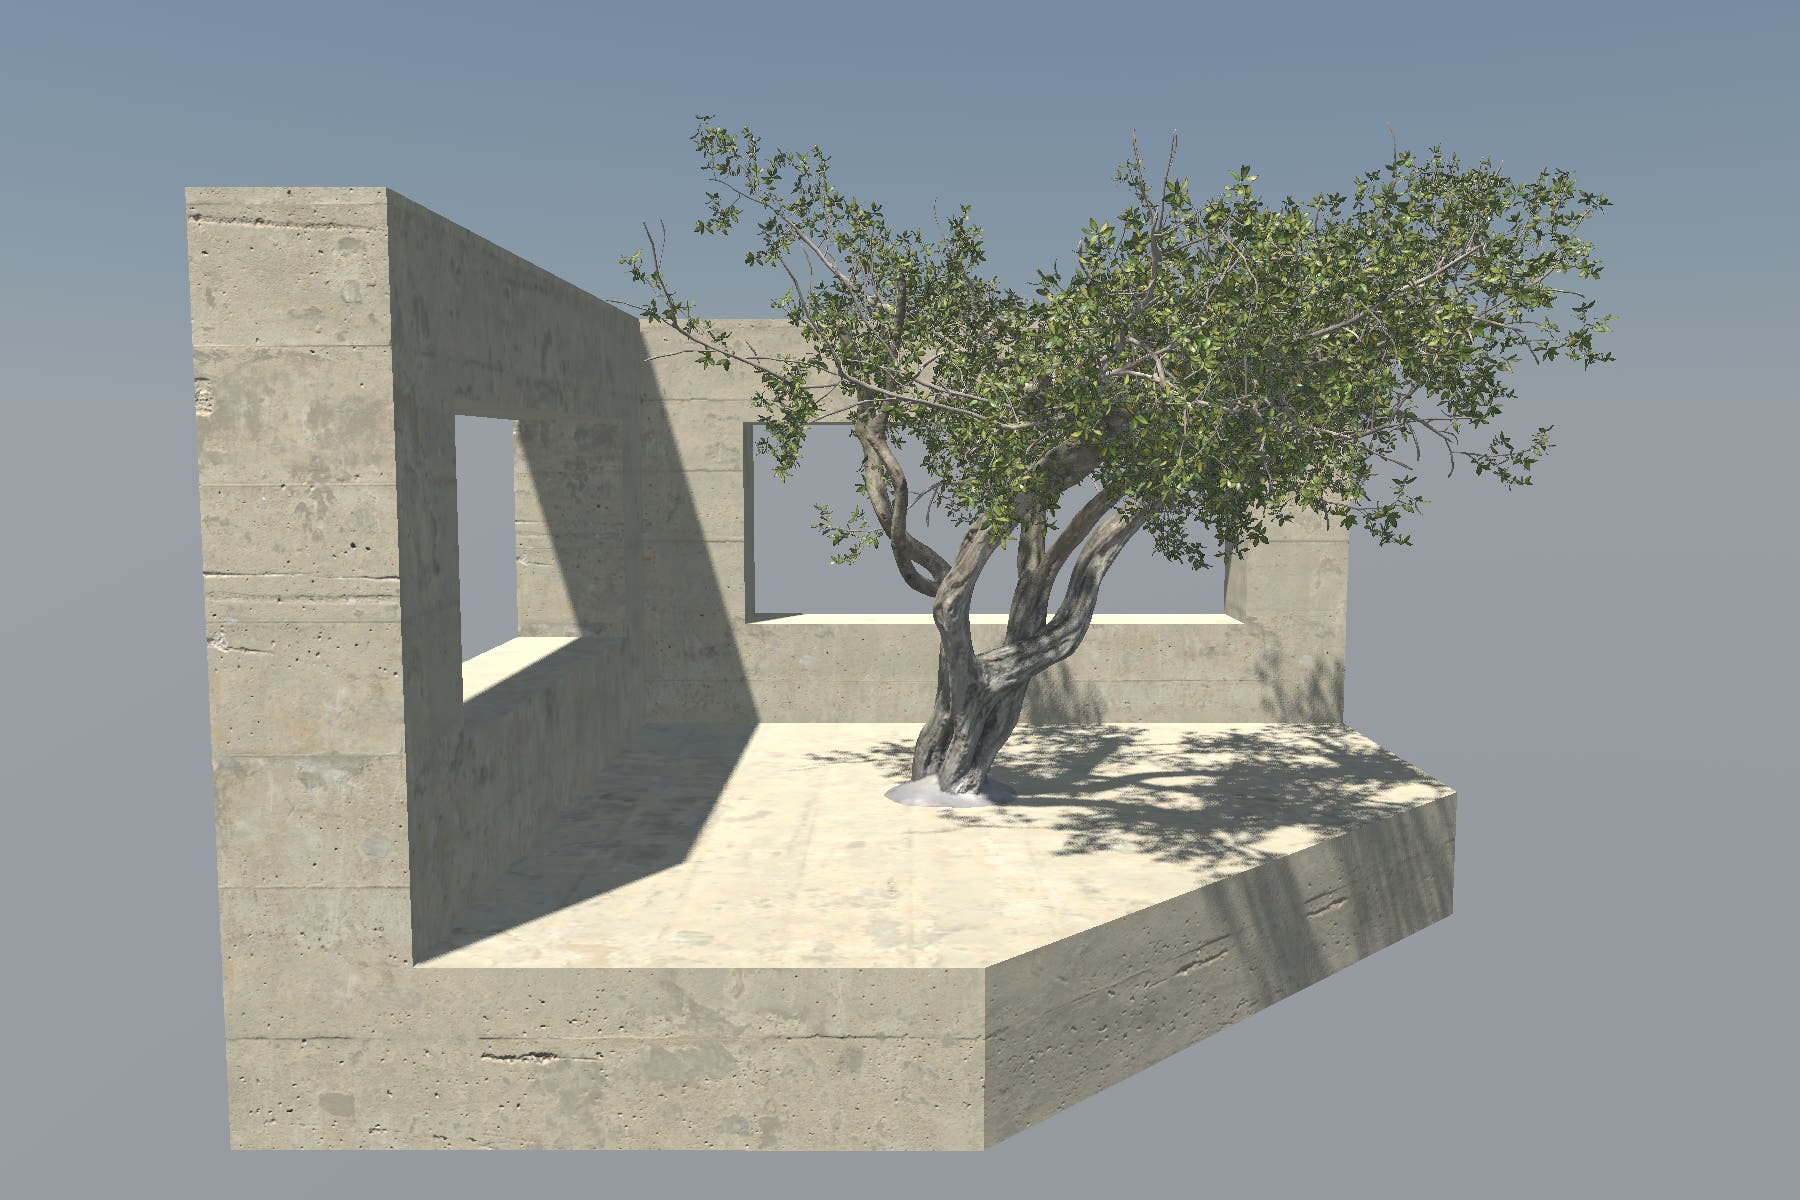
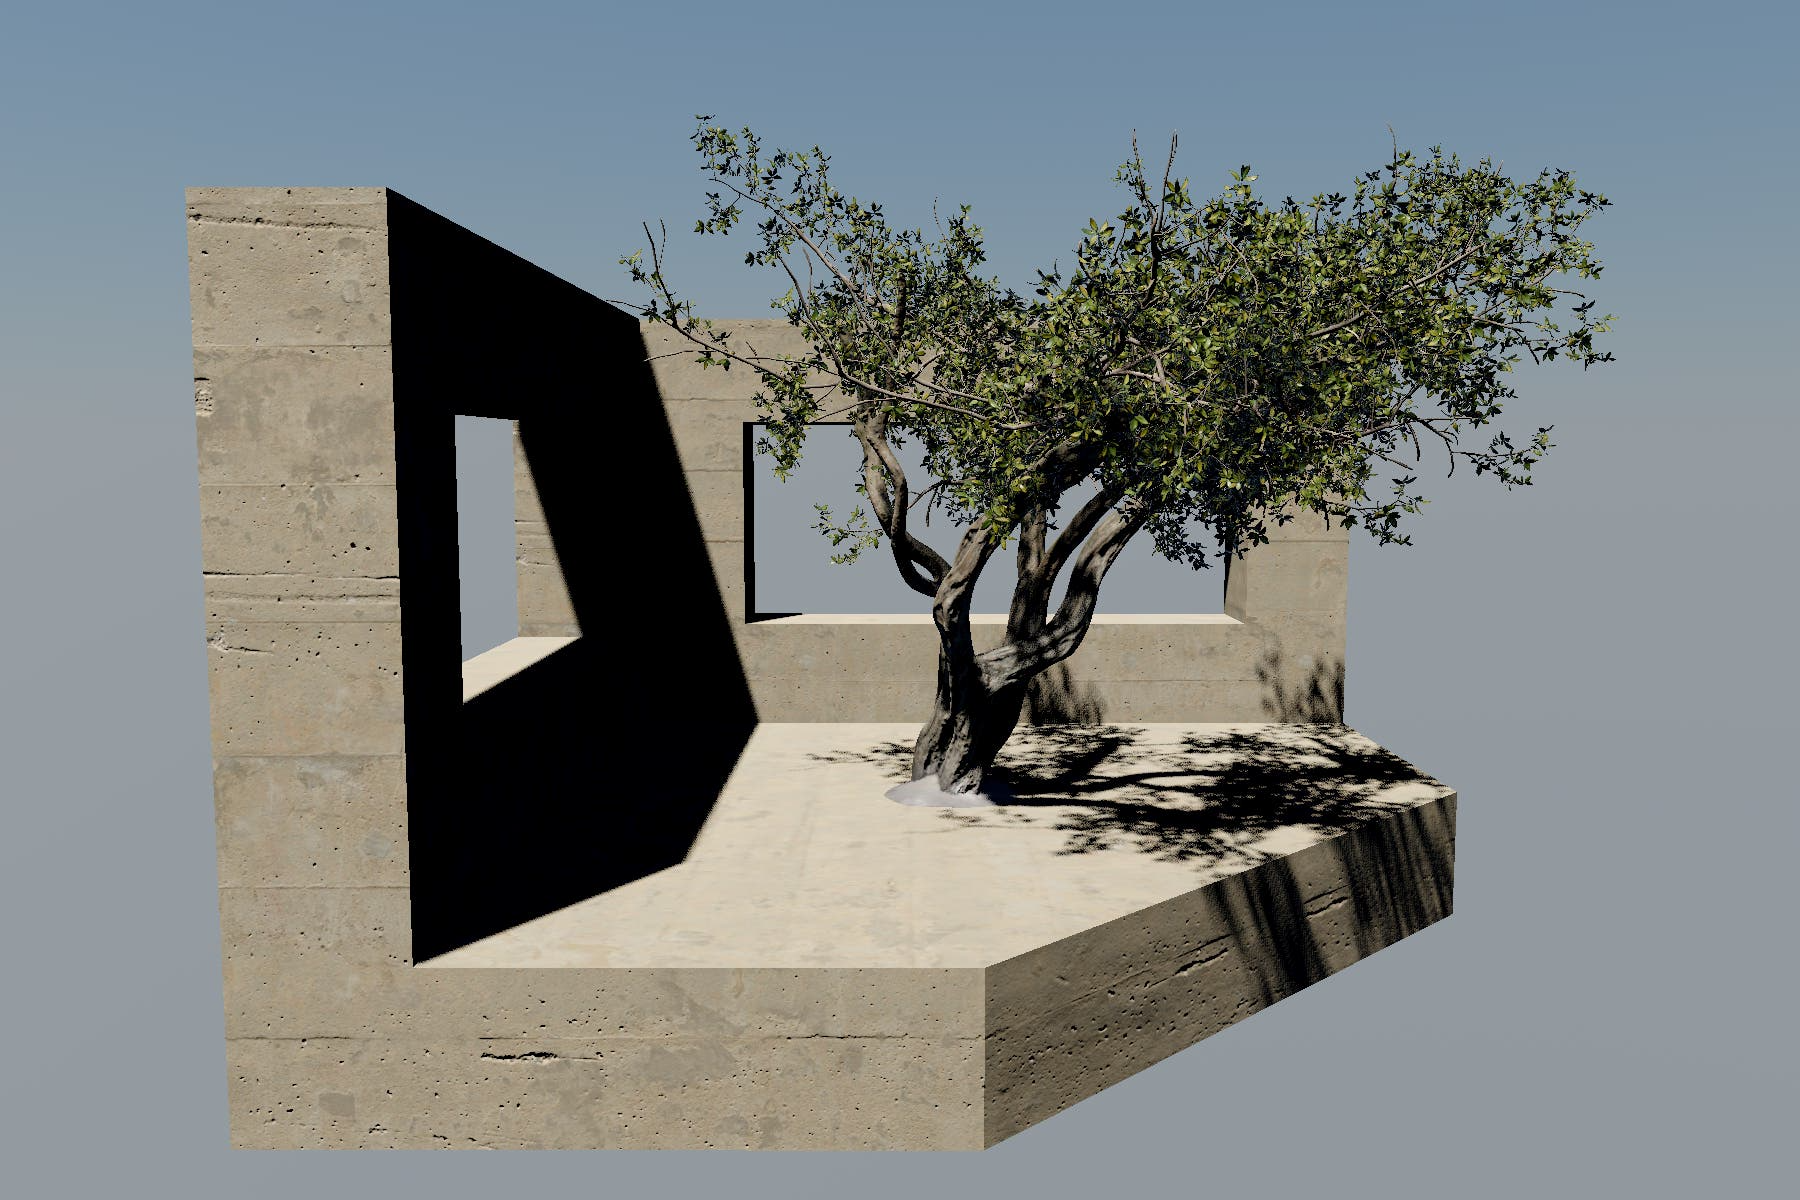
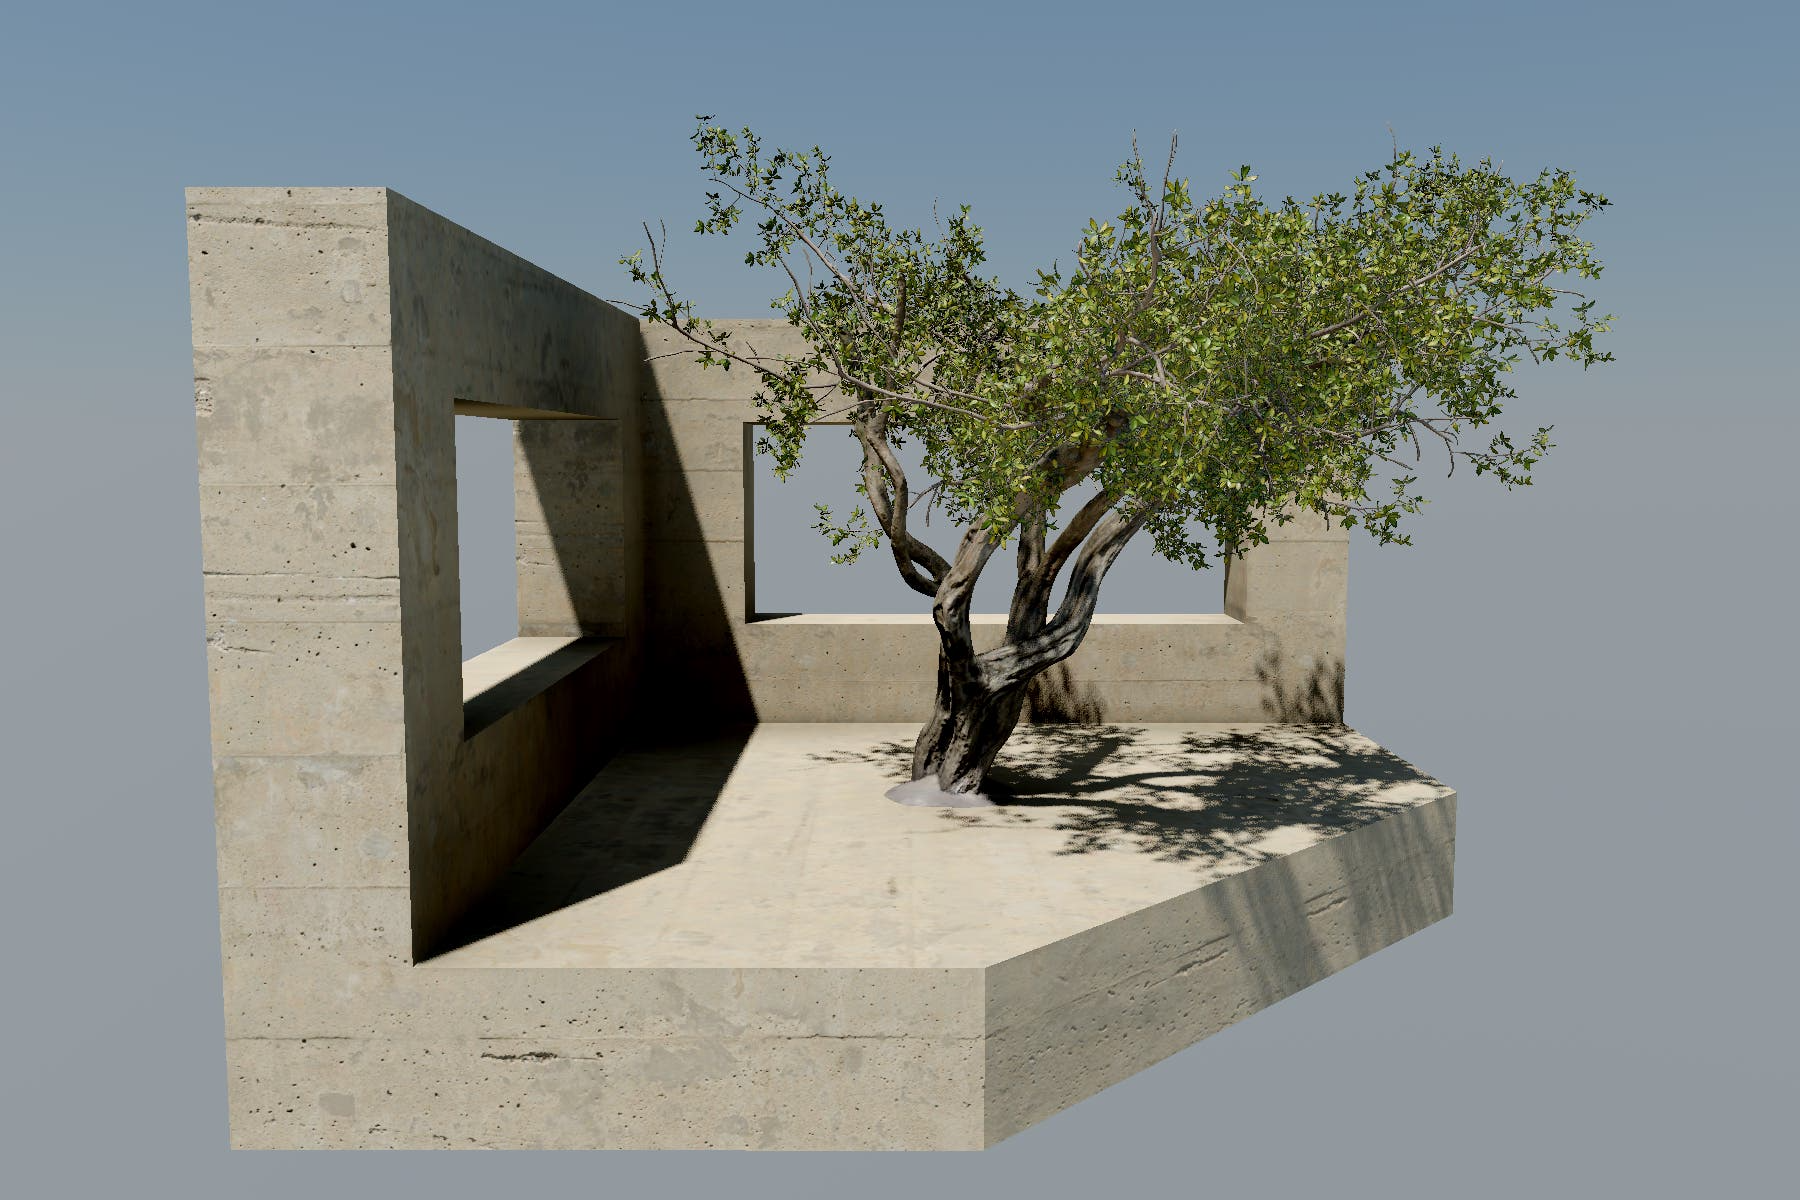
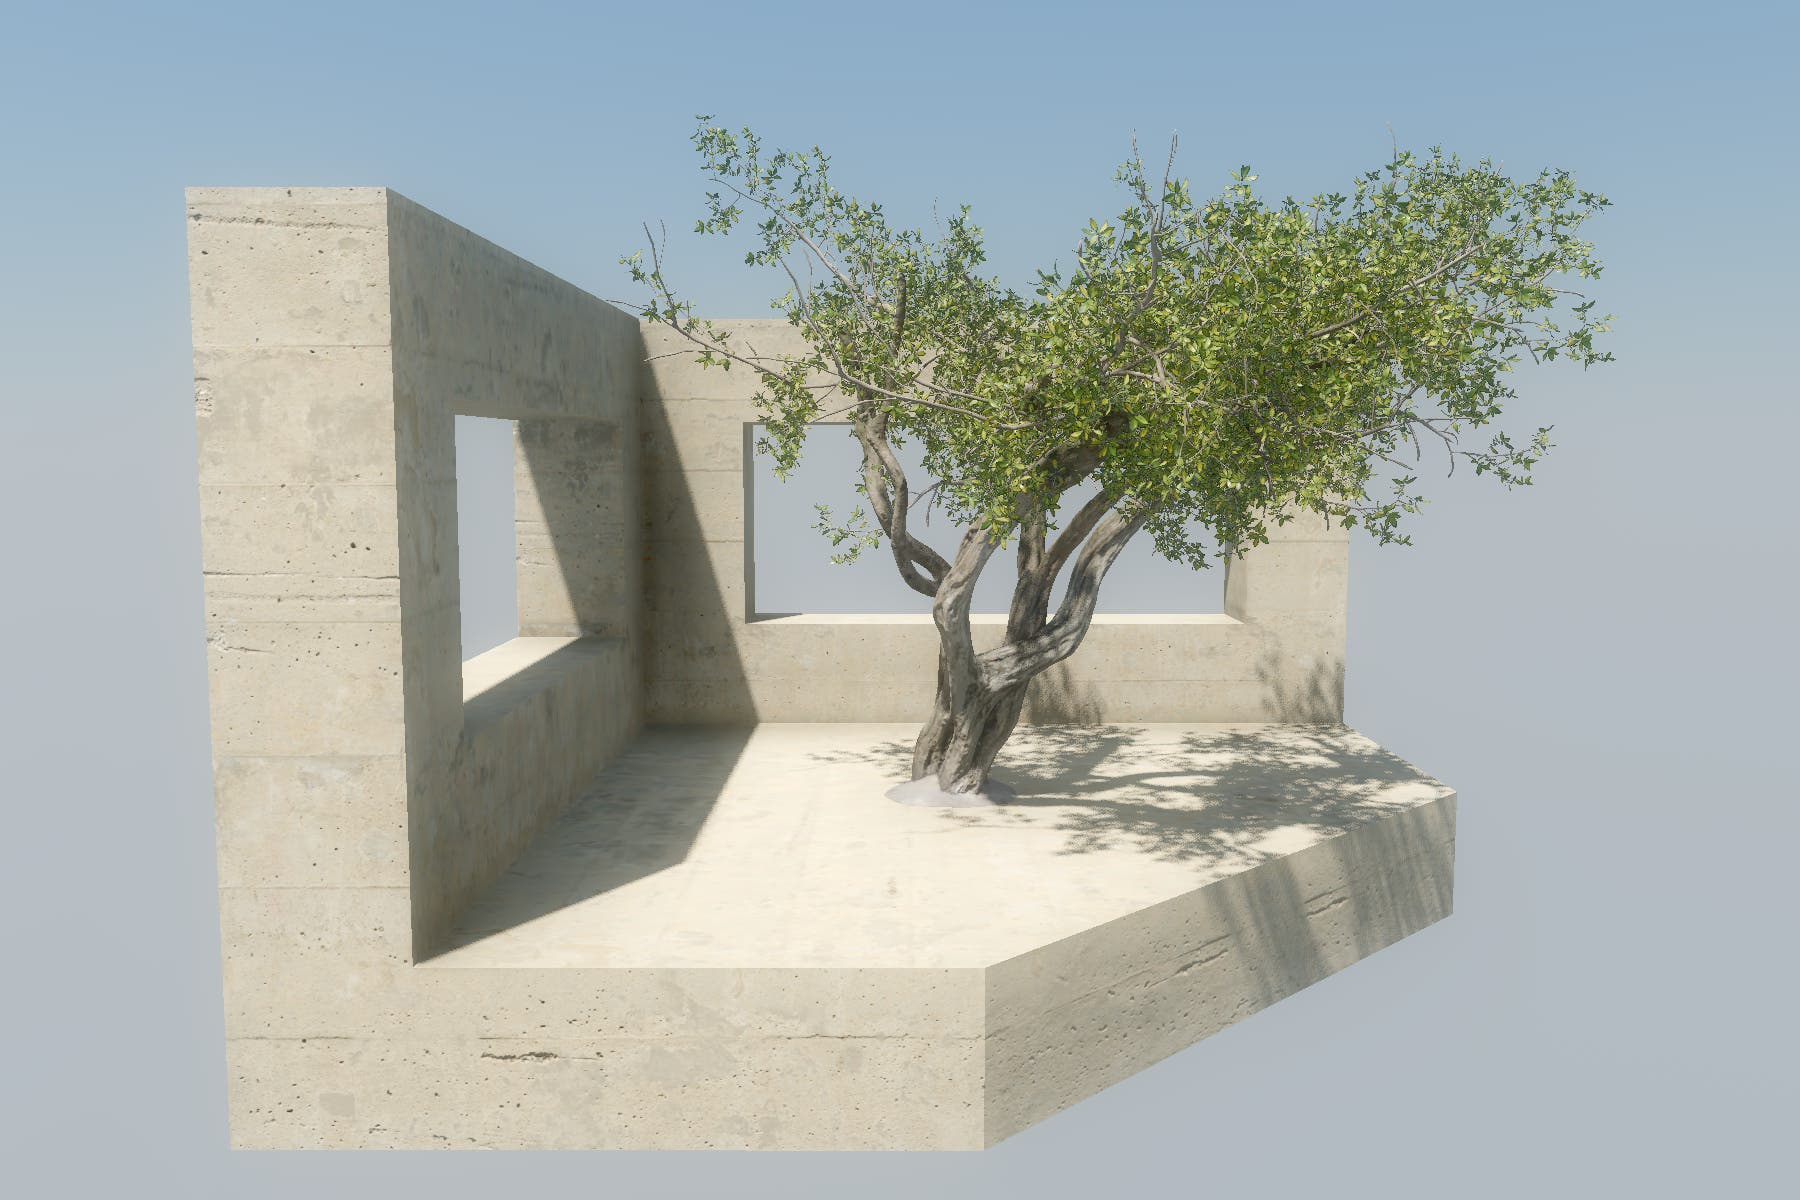
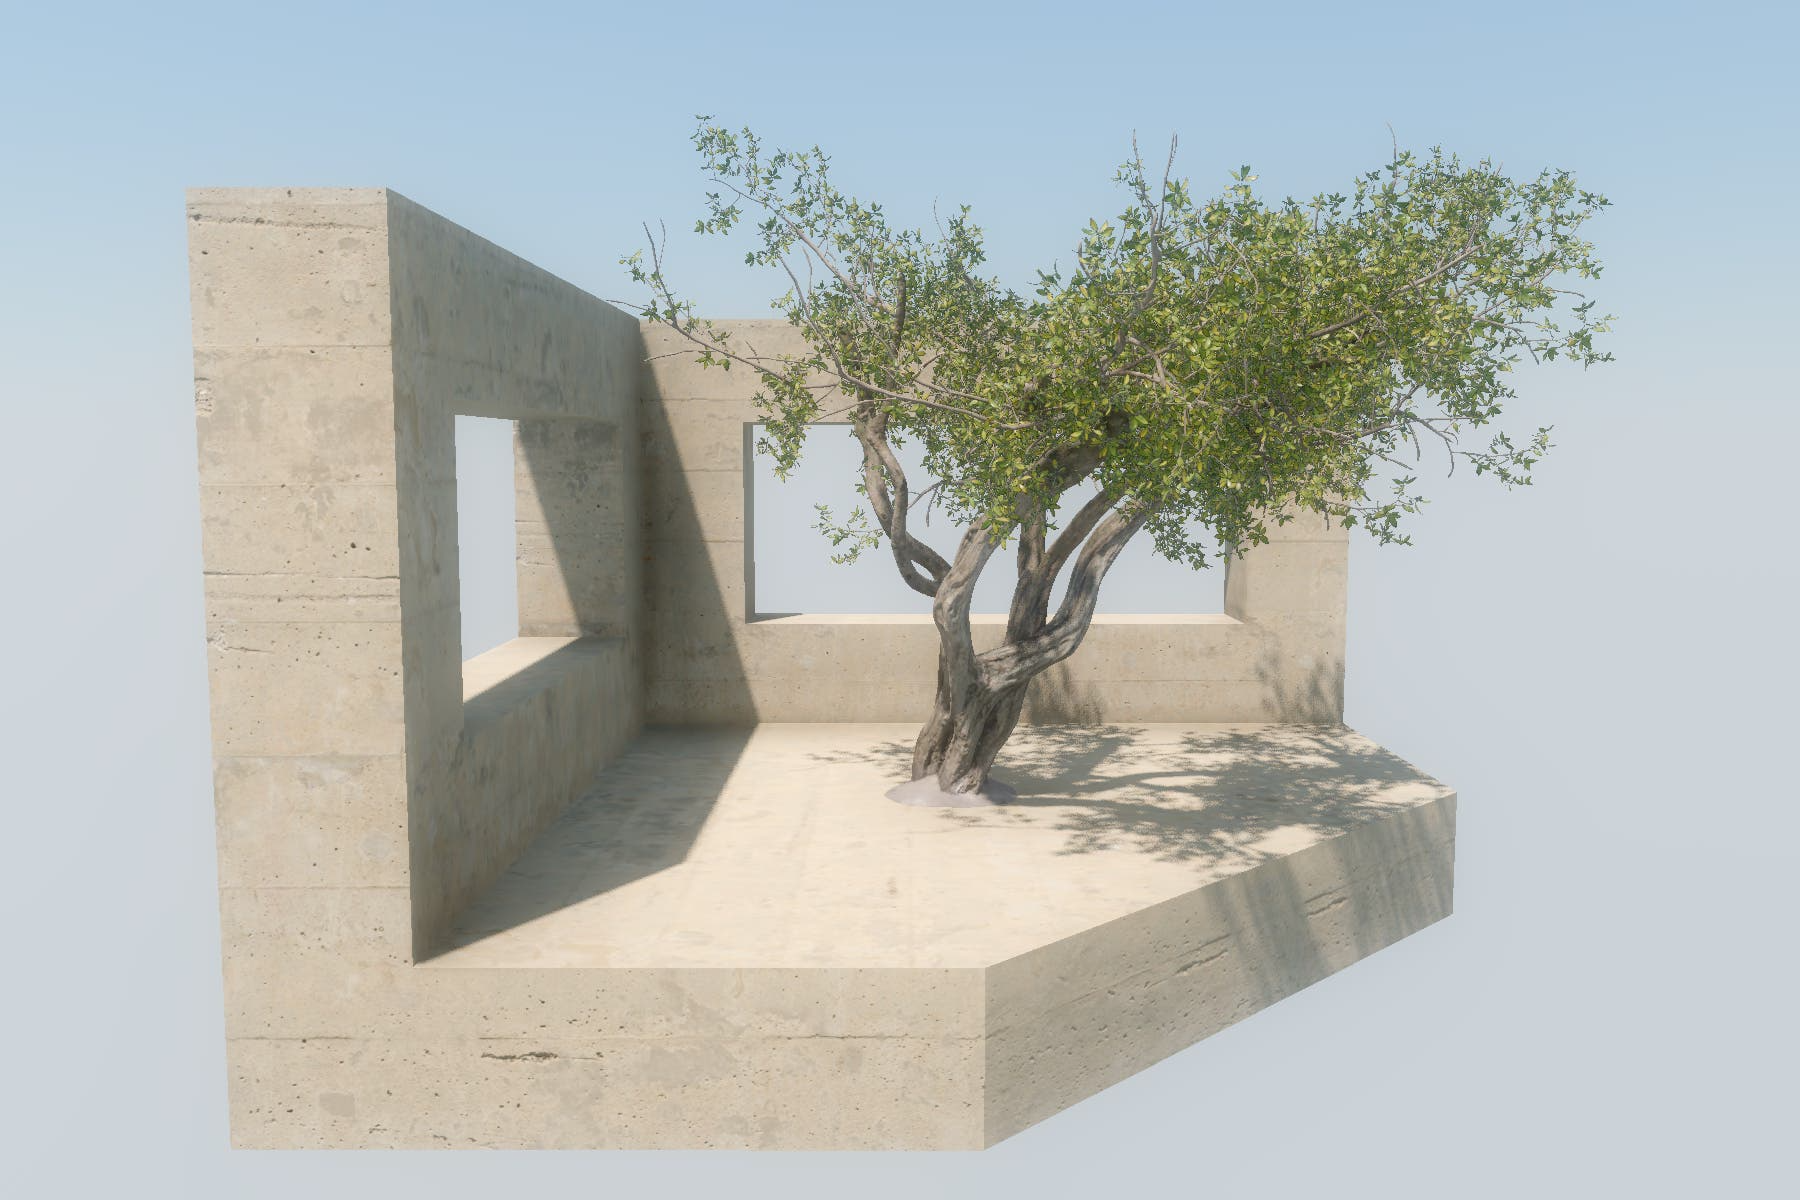
Our quick general-purpose daytime photorealism environment will turn the default scene from above into this:

The project, including the demo scene and the environment.tres you can directly re-use if you want, is available here: https://git.hexaquo.at/karl/realistic-godot-environment
We’ll need multiple building blocks to achieve this look, which I’ll cover one by one. Many of them affect each other, but thinking about them as individual components might make it easier to understand what these settings are doing. They are:
-
Background
-
Direct light
-
Ambient light
-
Indirect light
-
Tonemap
-
Post Processing
Setting Up a WorldEnvironment
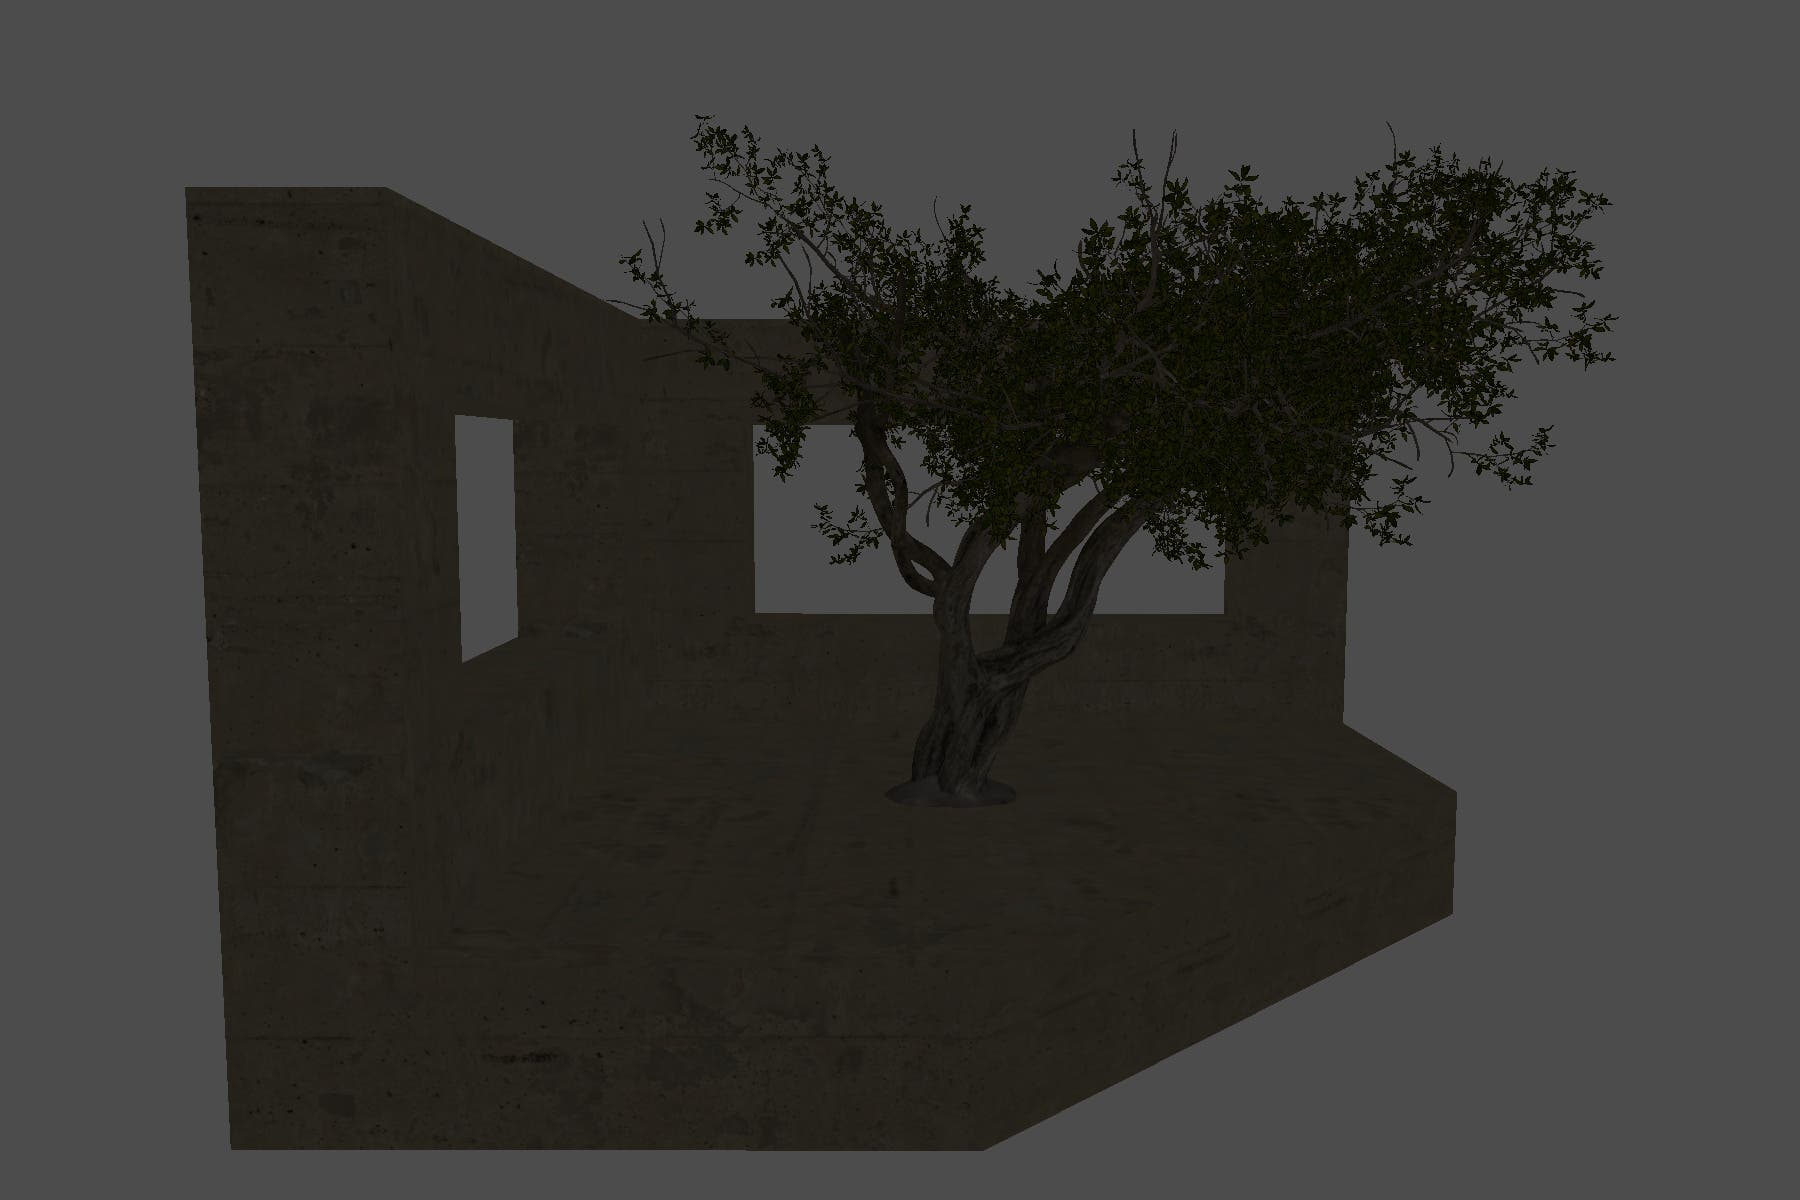
As noted at the beginning, Godot starts with a default environment. You see it in the 3D viewport, but it’s really just for this preview, it doesn’t exist in the scene tree and therefore also doesn’t appear when running your game. In fact, running the game with no light or environment looks like this:
There are two options for getting started. You can either add a WorldEnvironment and a DirectionalLight node to your scene and start altering their settings. That way, you start from scratch.
If, however, you’re somewhat happy with the default environment you see in the editor, you can use that as an entry point. To do this, click the three dots next to the sun and environment icon above the 3D viewport, and press the buttons for adding the environment and the sun to the scene:
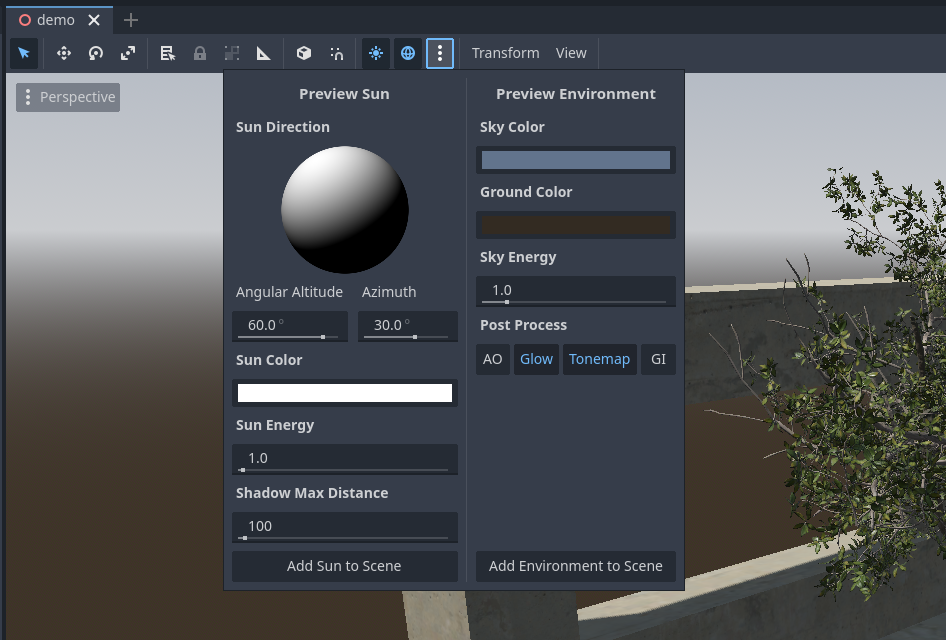
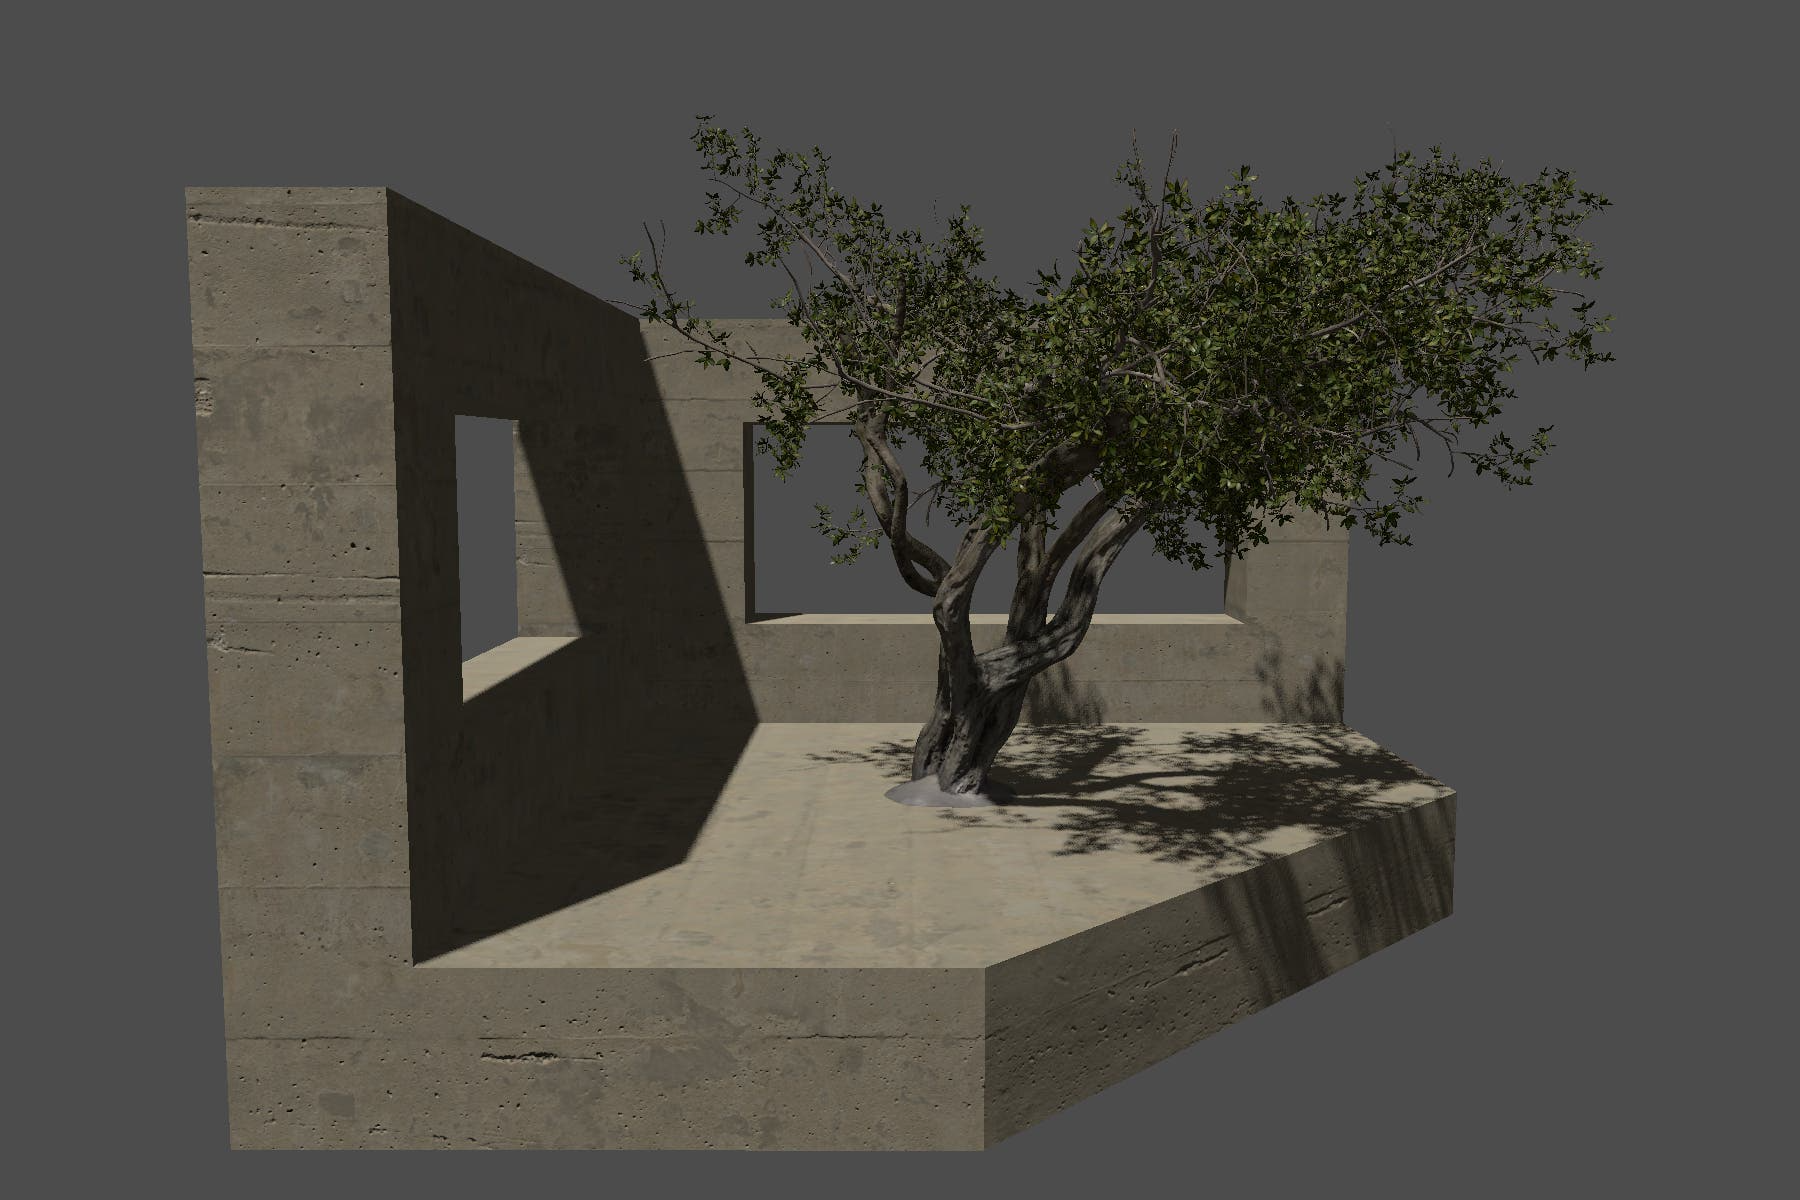
For this article, I’ll add the default sun (since it has a sensible rotation), but start with an empty environment. That way, you’ll see all the individual options which contribute to making the scene lit up nicely. This makes us start with something like this:
Background
The most obvious problem with the empty environment is that the background is all gray. What we want instead is a blue sky with a nice horizon gradient and a sun, similar to the default environment. We can get this by switching the background mode to “Sky” and adding a new Sky with a SkyMaterial. You have three options for the sky material:
-
PanoramaSkyMaterial: wraps a texture around the background as a typical sky-dome. These textures are called HDRIs and you can find them online, e.g. here (licensed CC0): https://polyhaven.com/hdris
-
ProceduralSkyMaterial: essentially color gradients; fine for realism, but especially practical for stylized games where you want easy control over horizon and sun colors.
-
PhysicalSkyMaterial: a proper physical simulation of how the atmosphere gets its color. Looks more realistic than the ProceduralSky and automatically reacts to the sun’s angle, producing really nice horizons for sunrise and sunset.
For our case of realistic rendering, the physical sky is perfect. Depending on the specific setup of your scene, you may want to change the ground color from the default black to white; this hides the horizon, making it look more akin to flying above the clouds. I like this especially for demo scenes without terrain around them. Note that this also affects ambient light (which we’ll talk more about later), since it’s brighter below the scene now.
You might notice that the sky seems quite dark. The intensity of its color is affected by two things: the sky’s energy and the sun’s energy. We’ll get to the sun energy next, but I also prefer an energy multiplier above 1.0 for the sky; in this case, I’ll use 1.5.
Bonus: Adding Clouds
The physical sky can only simulate a clear sky. If you want clouds, there are two great options:
-
clayjohn’s procedural volumetric clouds with an even more physically correct atmosphere and procedural, physically rendered clouds: https://github.com/clayjohn/godot-volumetric-cloud-demo-v2 These are a custom Sky shader, meaning that they replace Godot’s built-in physical sky as the environment’s background.
-
Bonkahe’s SunshineClouds: https://github.com/Bonkahe/SunshineClouds2 These are not just a different background, they are actual 3D clouds which you can fly through and above.
Cloud rendering and, in extension, volume rendering, is a really fun topic to explore. Bonkahe has an in-depth explanation video linked in the SunshineClouds repository, and there are lots of other videos and articles on the topic (I’ve been meaning to write one on raymarching in Godot as well). Most of it can be traced back to Andrew Schneider’s presentation of how volumetric clouds were implemented using raymarching in Horizon: Zero Dawn back in 2015: https://www.guerrilla-games.com/read/the-real-time-volumetric-cloudscapes-of-horizon-zero-dawn
Direct Light
Our primary source of direct light in this realistic daytime scene is the sun. Pressing “Add Sun to Scene” added a DirectionalLight3D node to the scene, since that’s the type of light which is typically used for sunlight. You can think of a directional light as photons which are all parallel, they all go into the same direction. In other words, it’s a point light which is infinitely far away. The sun isn’t quite infinitely far away, but it’s so far away that this works well as an approximation.
The directional light has a default energy of 1.0. These units are arbitrary, similar to the units we use for positions, which we typically think of as meters. (You can switch to real physical values for light, as I’ll show at the end of the article, but for now, we’ll stick with these arbitrary units for simplicity.) All that really matters is that the values make sense relative to one another. Three things need to be in harmony for good lighting:
-
Energy of the sun
-
Energy of other light sources (e.g. the sky, lamps, or fire)
-
Exposure of the camera
With the camera’s default exposure, 1.0 is quite dark for a sun. I think 3.0 is a sensible value for a cloudless noon. You’ll want to vary this energy depending on the time of day and the weather in your game.
Shadows are enabled by default for the directional light. You may need to play with its parameters depending on the geometry and scale of your level; the Godot Docs have a good article on that here: https://docs.godotengine.org/en/stable/tutorials/3d/lights_and_shadows.html I’ll add that, if your game has dynamic weather, the shadow blur can be useful for varying how hard or soft your shadows are.
You can, of course, also change the color of your light. Mixing a slight bit of yellow into it can look nice, especially for dawn and sunset.
Tonemap
Before moving on to other types of light and shadow, we’ll need to talk about one a bit more technical, but really important aspect about how your game gets its final colors. There’s quite a bit more complexity here than one might expect.
That’s because, before rendering to the screen, colors exist in high dynamic range (HDR). To put this into practical terms: they’re not triplets of RGB values between 0.0 and 1.0 (or between 0.0 and 255.0) as you might know them from color pickers, digital painting software, or the like. Instead, each channel actually goes from 0.0 upwards with no limit (aside from floating-point precision).
This is really important for realistically lit scenes: in traditional RGB, there is no way to differentiate a purely white sheet of paper (such as the background on this website, if you’re using light theme) from looking directly into the sun. Both are (1.0, 1.0, 1.0), pure white. But of course, brightness plays a major role for how colors end up looking and how they interact with other colors, and how they affect post-processing effects such as bloom (which we’ll go into later). That’s why all 3D scenes use high dynamic range internally.
However, our displays can’t deal with those colors; their pixels function just like traditional 0.0..1.0 RGB values do. Even if you have an HDR display, their additional dynamic range is far from what you’d need to depict the full dynamic range of a 3D scene. That’s why we need to convert from high dynamic range into low dynamic range (LDR). And that’s the job of the tonemapper.
The default tonemap, Linear, doesn’t really do anything; it simply clips all values to a maximum of 1.0. This is fine for dark scenes, but not only do you lose brightness information, but everything brighter than (1.0, 1.0, 1.0) just becomes pure white, so you lose color information and contrast as well.
Godot offers a few other tonemappers, which the documentation does a good job explaining. ACES and AgX are the more realistic tonemappers, with AgX being the most recent and most accurate addition. Both ACES and AgX desaturate bright values in order to communicate brightness, but AgX is better at preserving hues and maintaining detail and contrast. Therefore, AgX will usually be the best choice for high-realism graphics.
By default, AgX desaturates everything quite drastically, perhaps more than you’d like. To work around this, you can increase the contrast and saturation in the “adjustments” tab of the environment. This maintains AgX’s correct and good-looking way of dealing with brightness while making the output a bit more punchy. (Note that my demo scene does not do a particularly good job at showing where tonemaps and AgX really shine; it gets very apparent when you deal with really bright lights and objects such as fire or neon lamps.)
Tonemaps are incredibly complex because they deal not primarily with the physics of light, but with the cognition of it, which is much more muddy and less understood. If you want to learn more than the Godot docs and the Wikipedia article on tonemapping can provide, you might want to take a look at these articles by the creator of AgX: https://github.com/sobotka/scise/wiki/Picture-Formation
Ambient Light
Back to something a bit more practical! Ambient light is the light which exists in all spots of the scene which aren’t hit by direct light. It’s actually enabled by default, otherwise our shadows would be pitch black:
You can change this global ambient light under the “Ambient Light” tab of the environment. The default, “Background”, takes ambient light from our sky, which makes sense. If you want finer control over the ambient light, you can set the “sky contribution” to something lower than 1.0. That way, you can mix a custom color into the ambient light coming from the sky. For stylized games, you may want to try mixing some blue or purple into the ambient light as a contrast to a slightly yellow direct light.
I called it “global ambient light” above because this ambient light is the same everywhere in the scene. Of course, this is an approximation and not how light really works. If you’d want to simulate light as it really works, you’d have to go into raytracing. However, Godot also offers other, simpler solutions for more realistic ambient light:
Ambient Occlusion
If you want to add shadows into highly occluded areas which are not hit by direct light, ambient occlusion is what you need. Godot’s environment offers Screen Space Ambient Occlusion (SSAO) for this. SSAO essentially works by sampling some geometry around a pixel to approximate how much light will statistically reach it. A flat surface would get no additional shadowing in this way, whereas a corner would, since there’s more geometry around pixels inside a corner. “Screen Space” means that pixels are checked and compared to pixels of the rendered image, specifically the depth buffer of the rendered image. In practical terms, this just means that SSAO only knows about what you see. It can therefore produce artifacts when moving the camera, especially at the edges of the screen, at the edges of objects, and when angles are very steep.
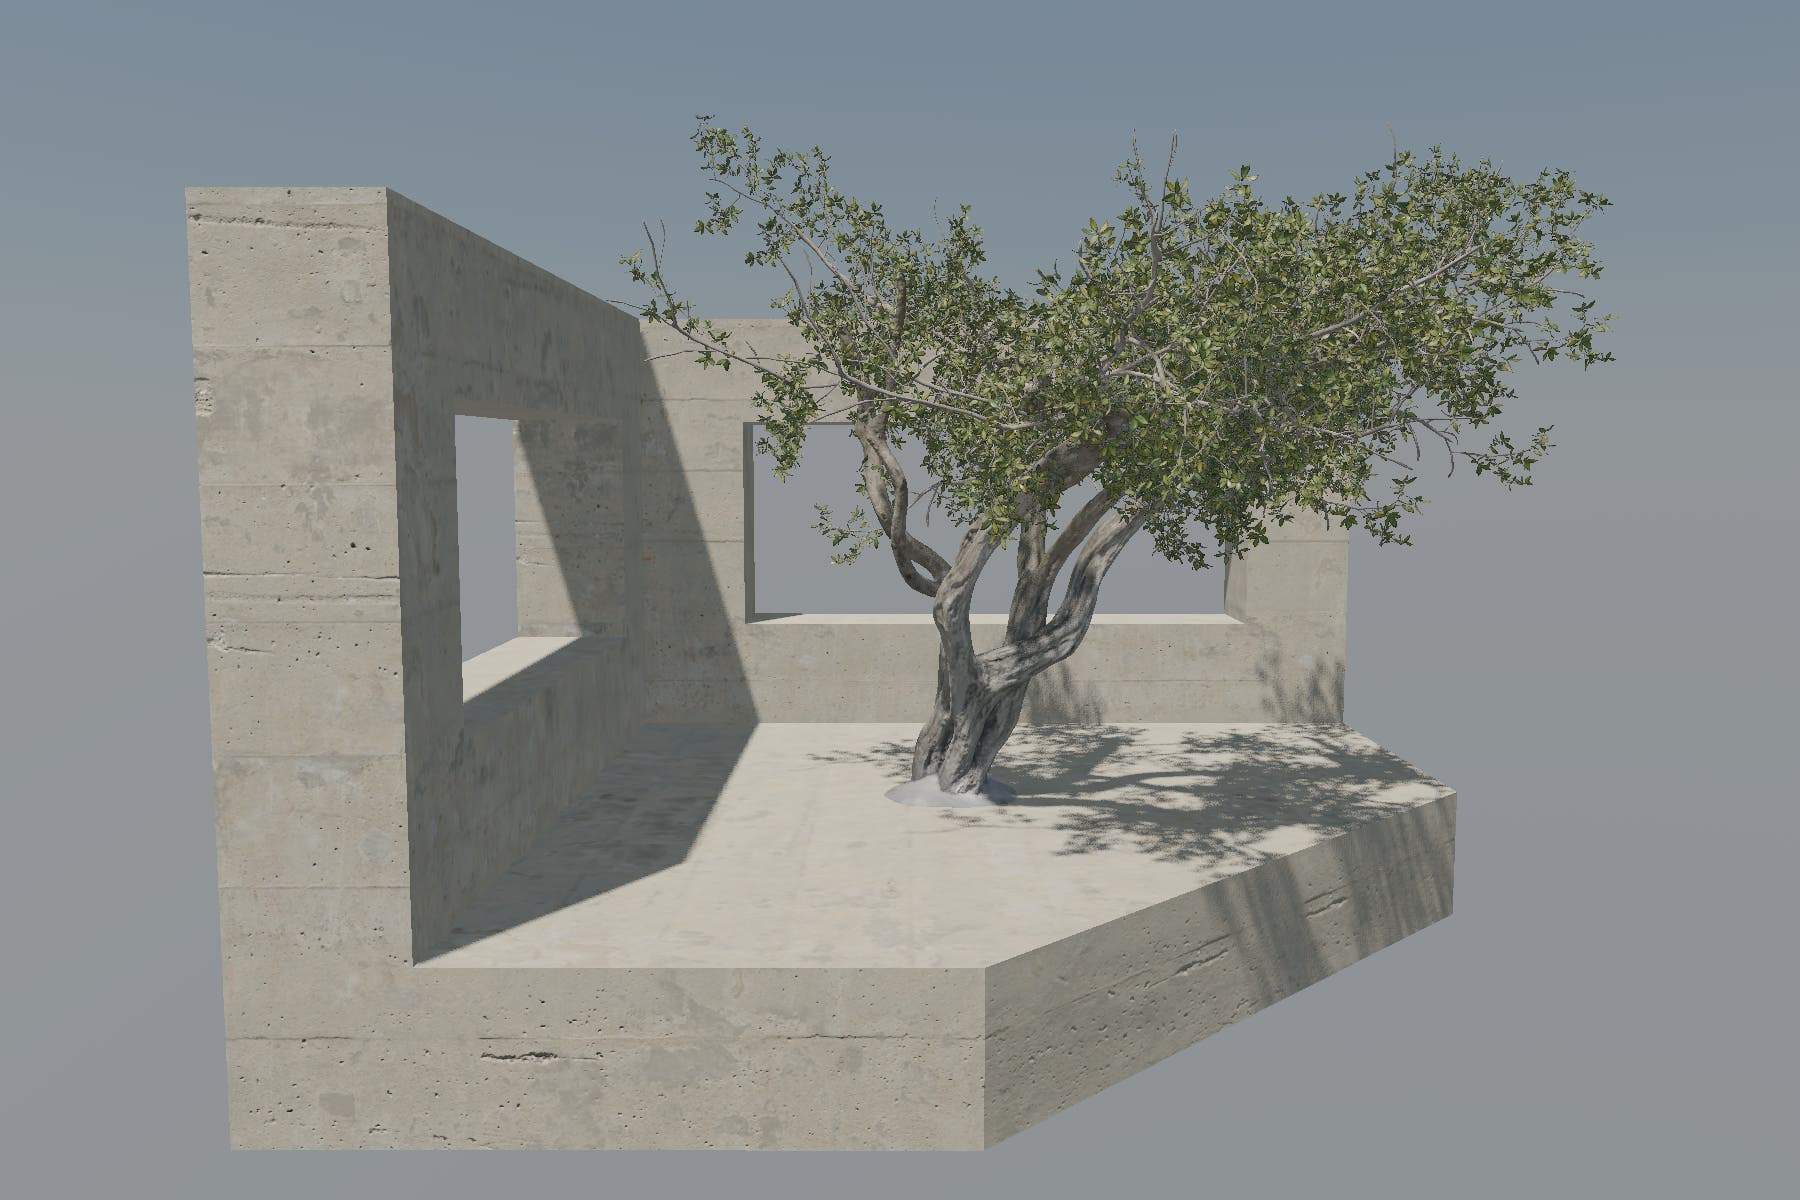
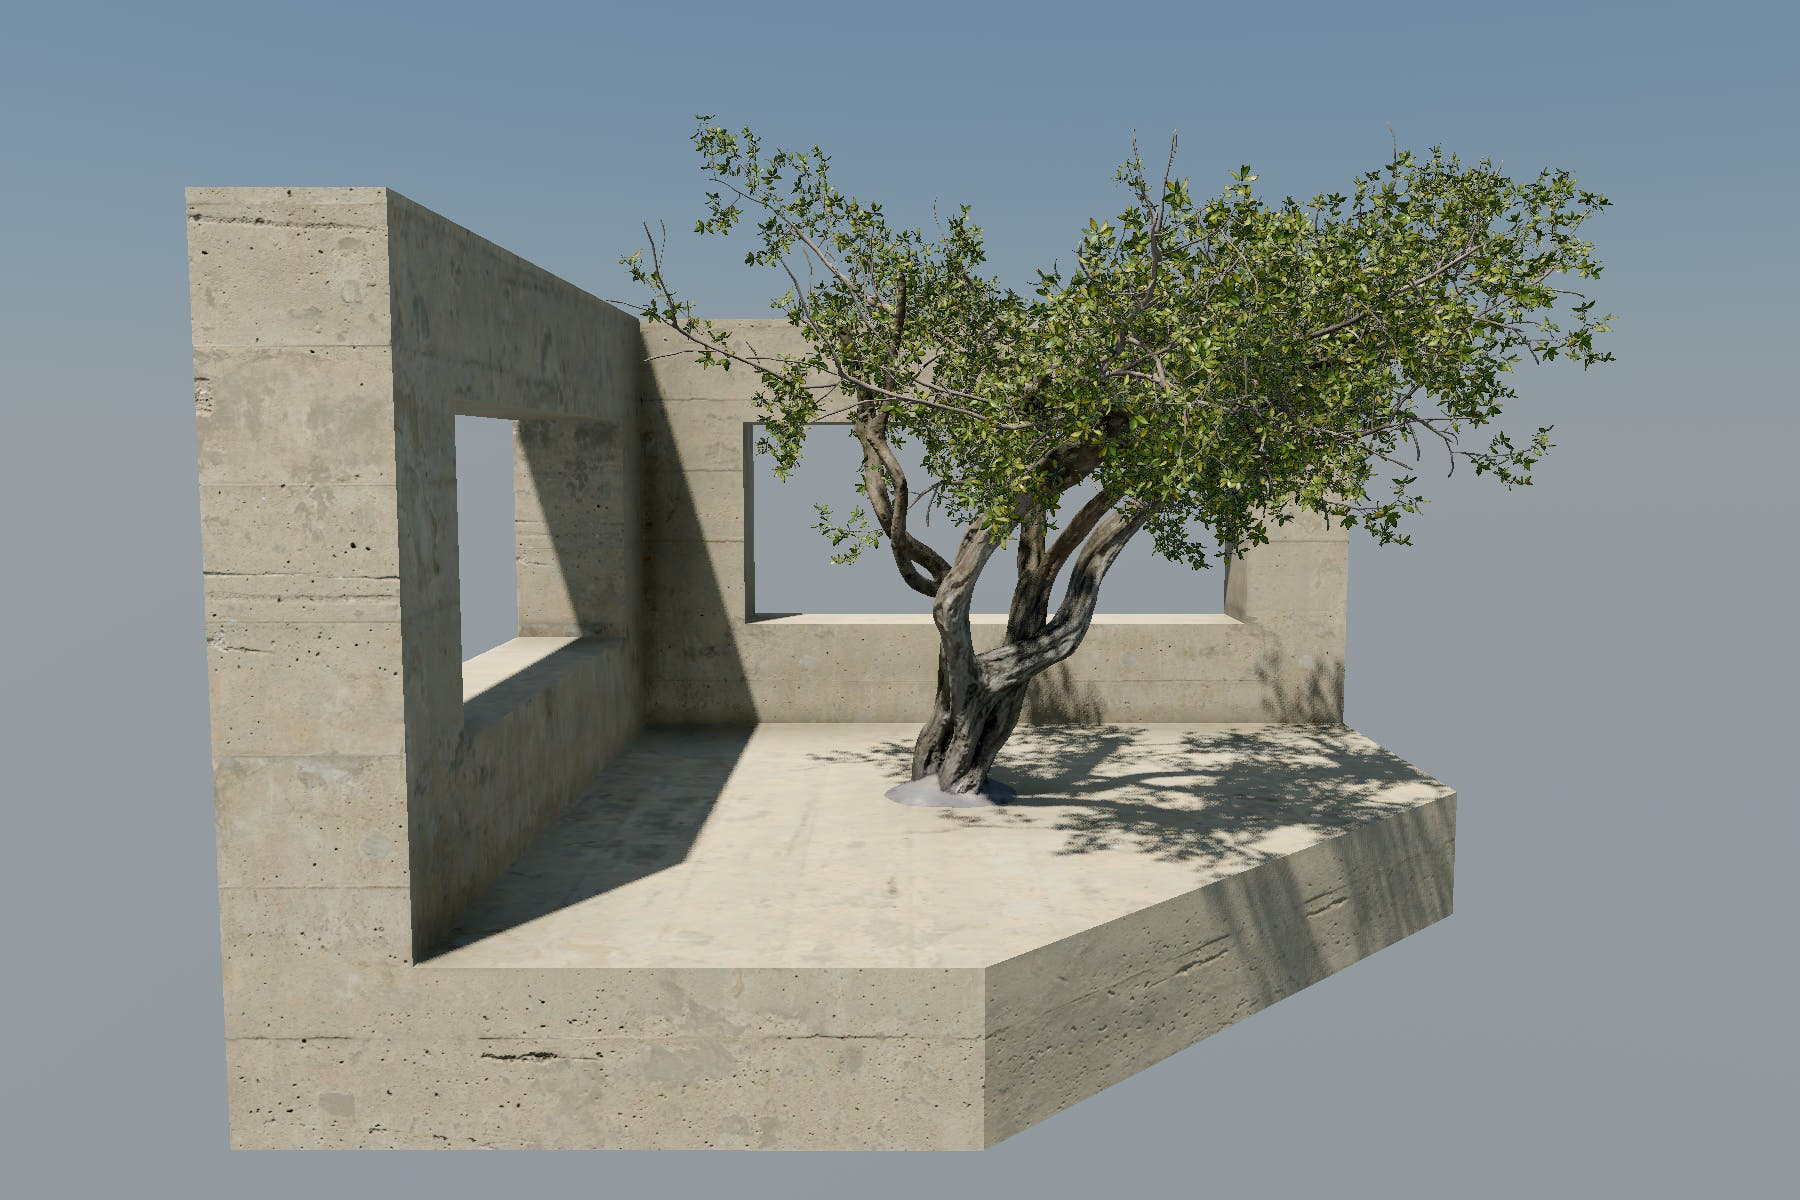
I find that enabling SSAO and setting the intensity to 3.0 gives the shadowed areas a much higher plasticity:
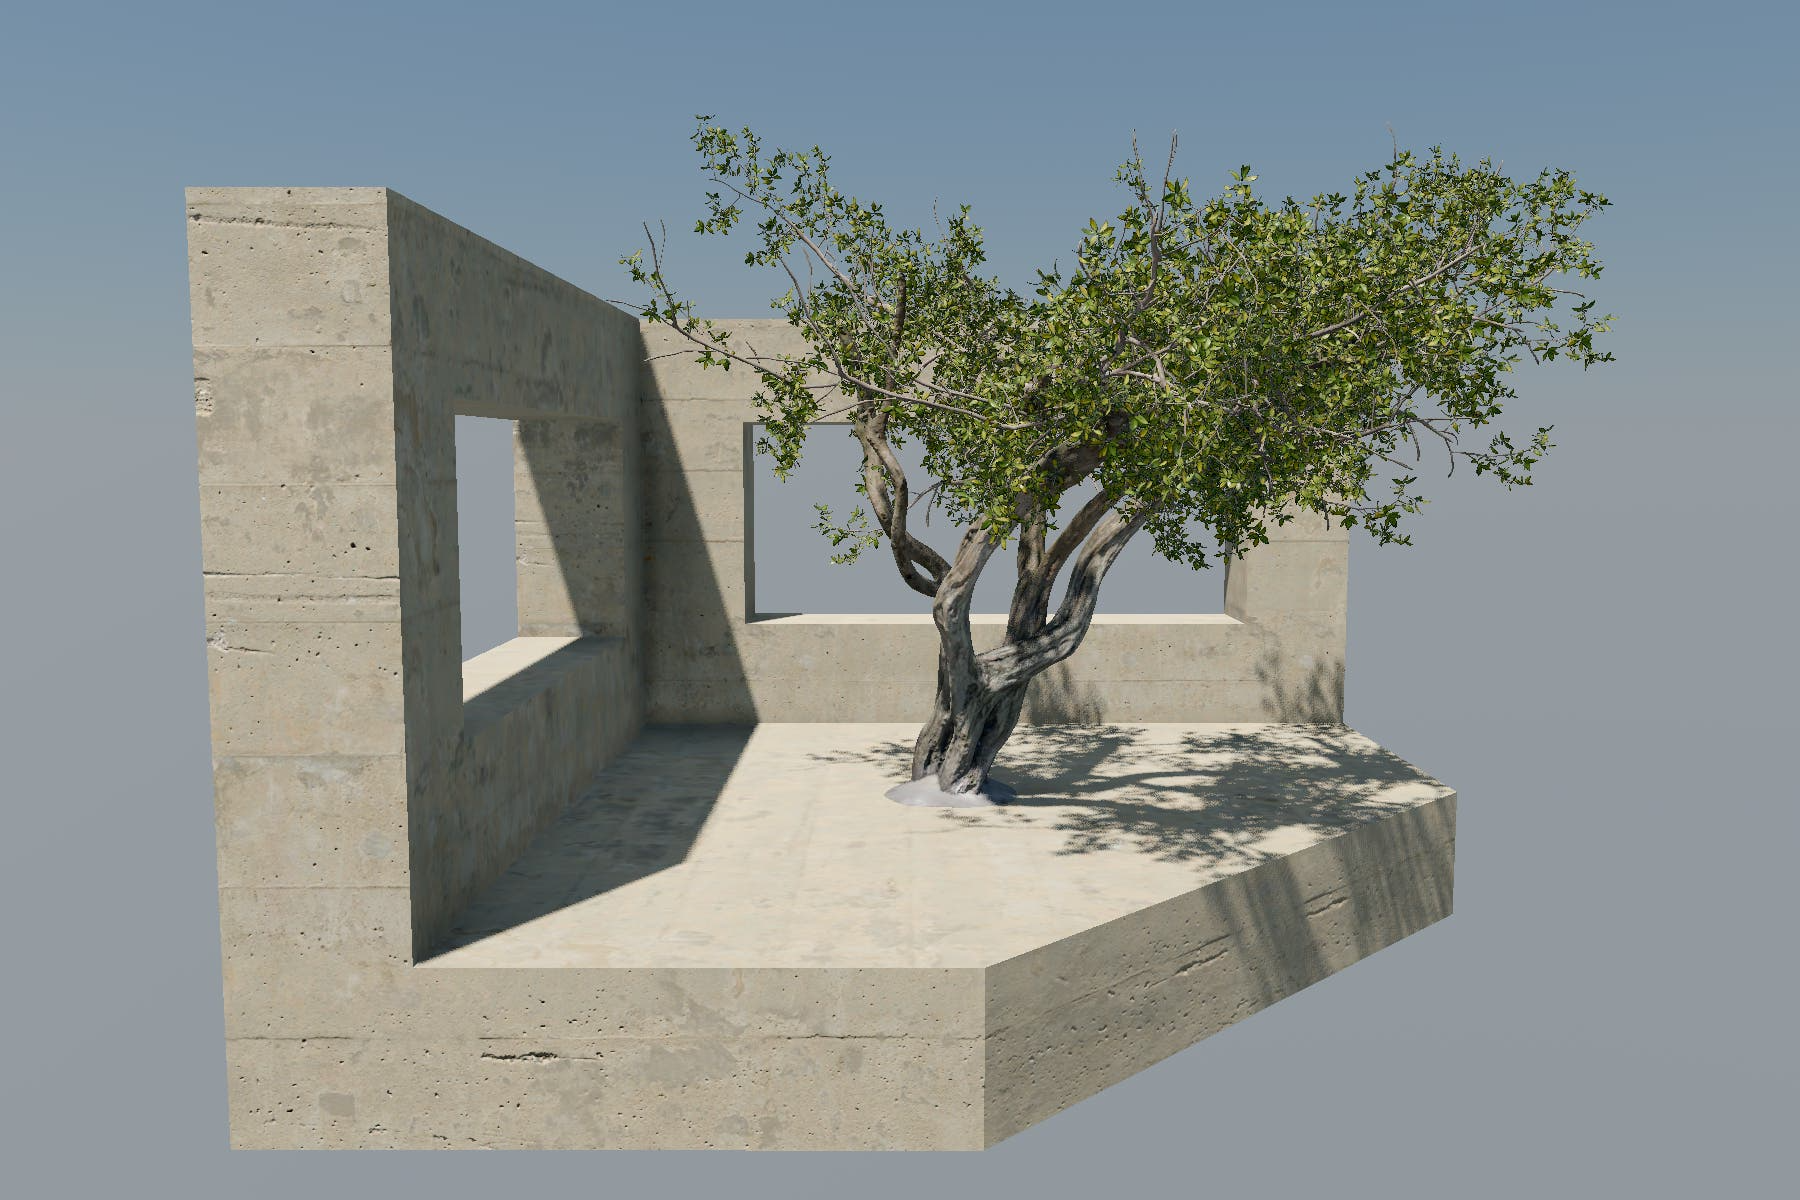
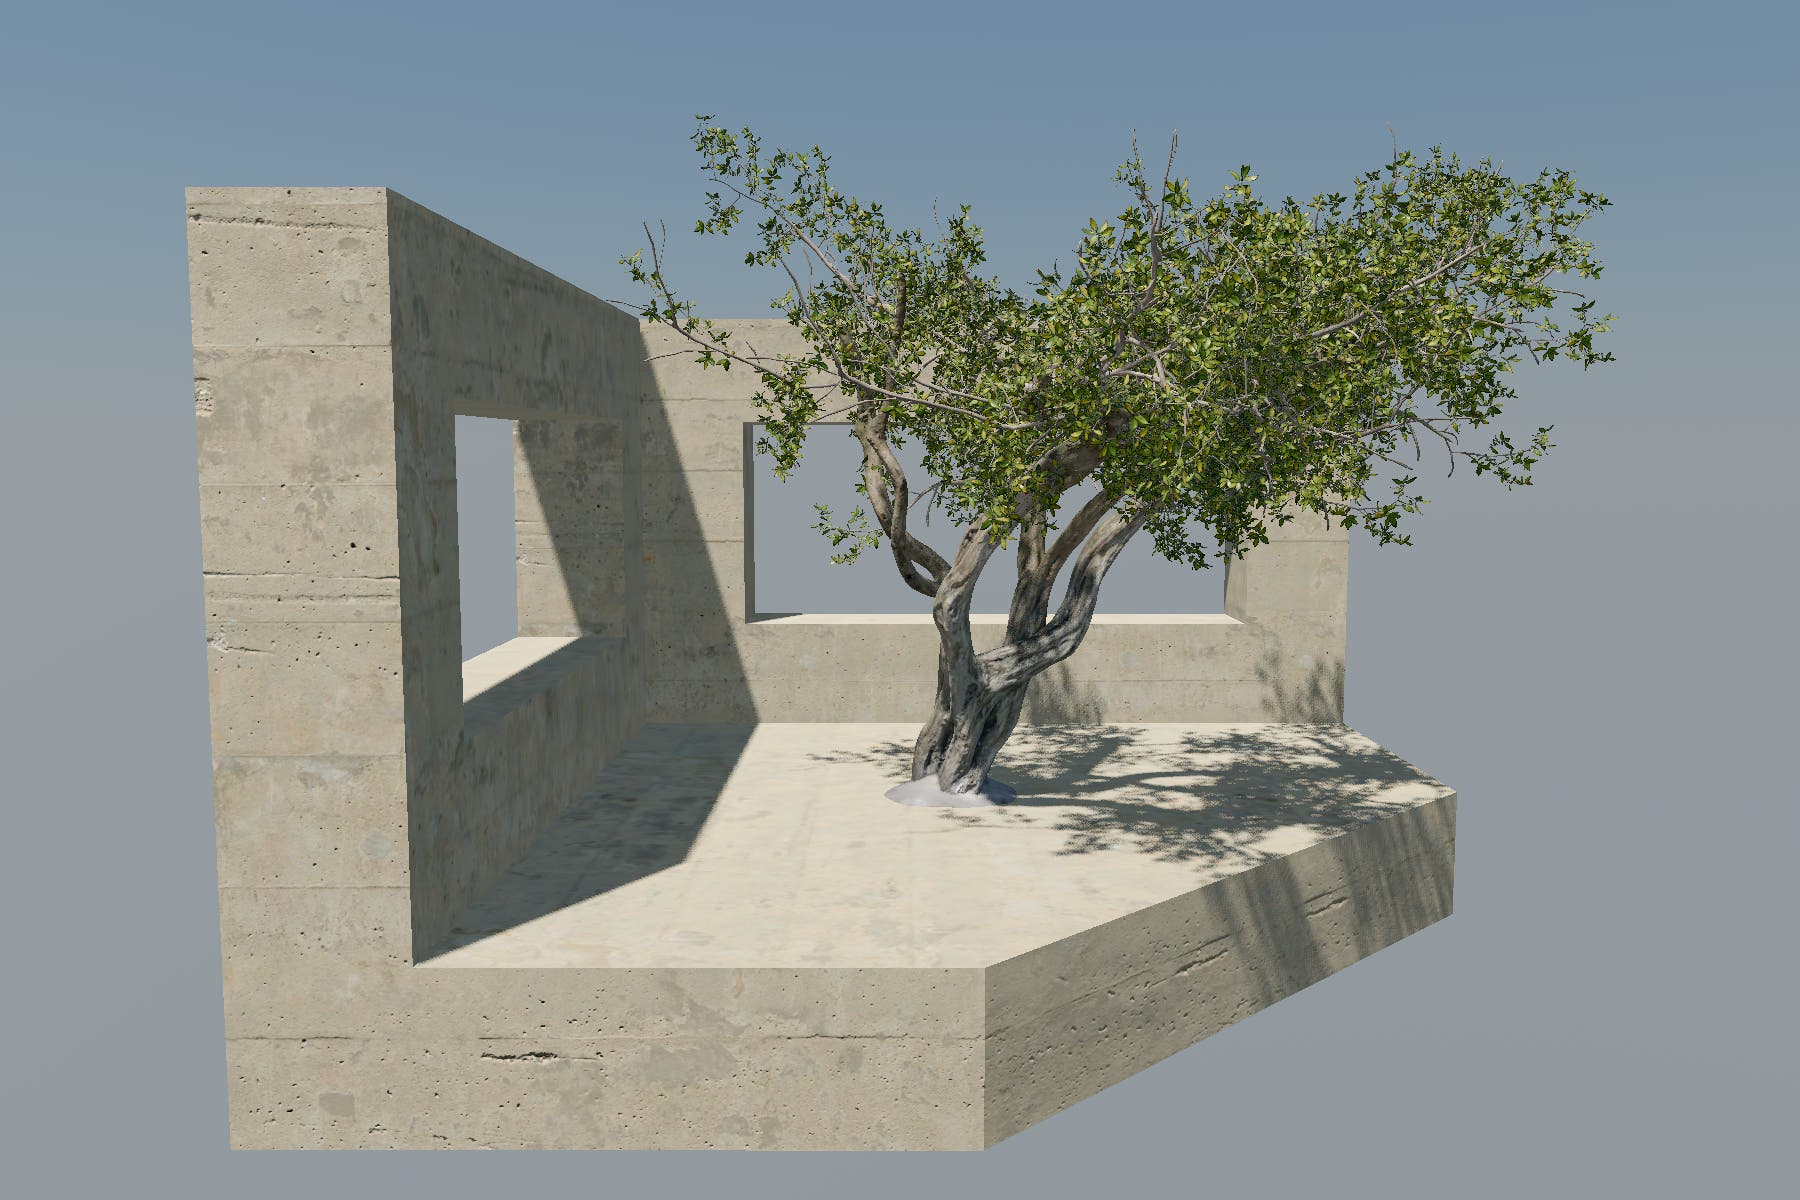
If you want ambient occlusion not only in shadowed areas, but everywhere, you can set “Light Affect” and “AO Channel Affect” to 1.0 (or something other, greater than 0.0). This increases plasticity in the whole scene:

You can set the viewport’s debug draw to SSAO to see what the SSAO pass is contributing to the final image, i.e. which areas the SSAO calculation has deemed more shadowed than others. This shows how much plasticity SSAO adds, since you can ascertain the geometry of the scene quite well from just this pass:
The other parameters for SSAO mainly serve to deal with its shortcomings and artifacts, and they will depend on your scene’s scale and geometry.
An alternative (or addition) to SSAO is global illumination, which handles ambient light in an even more realistic way. We’ll touch on that later in the next section.
Indirect Light
With ambient lighting and occlusion, we approximated the amount of shadowing on areas not directly hit by light. Indirect light is related, but the opposite: it simulates how brightly lit areas bleed some of that light into shadowed areas. Together with ambient light, indirect light is also referred to as global illumination.
There are broadly three methods for indirect light and global illumination in Godot:
Screen Space Indirect Light (SSIL)
SSIL can be activated in the environment. It works similarly to SSAO in that it looks at the final rendering to check how much additional light is bounced onto a given pixel. The most immediate effect of activating SSIL is that the shadows get more accurate colors, since the color of the ambient light is now not only affected by the background sky (as we discussed in the section on ambient light), but also by the color of nearby lit geometry.
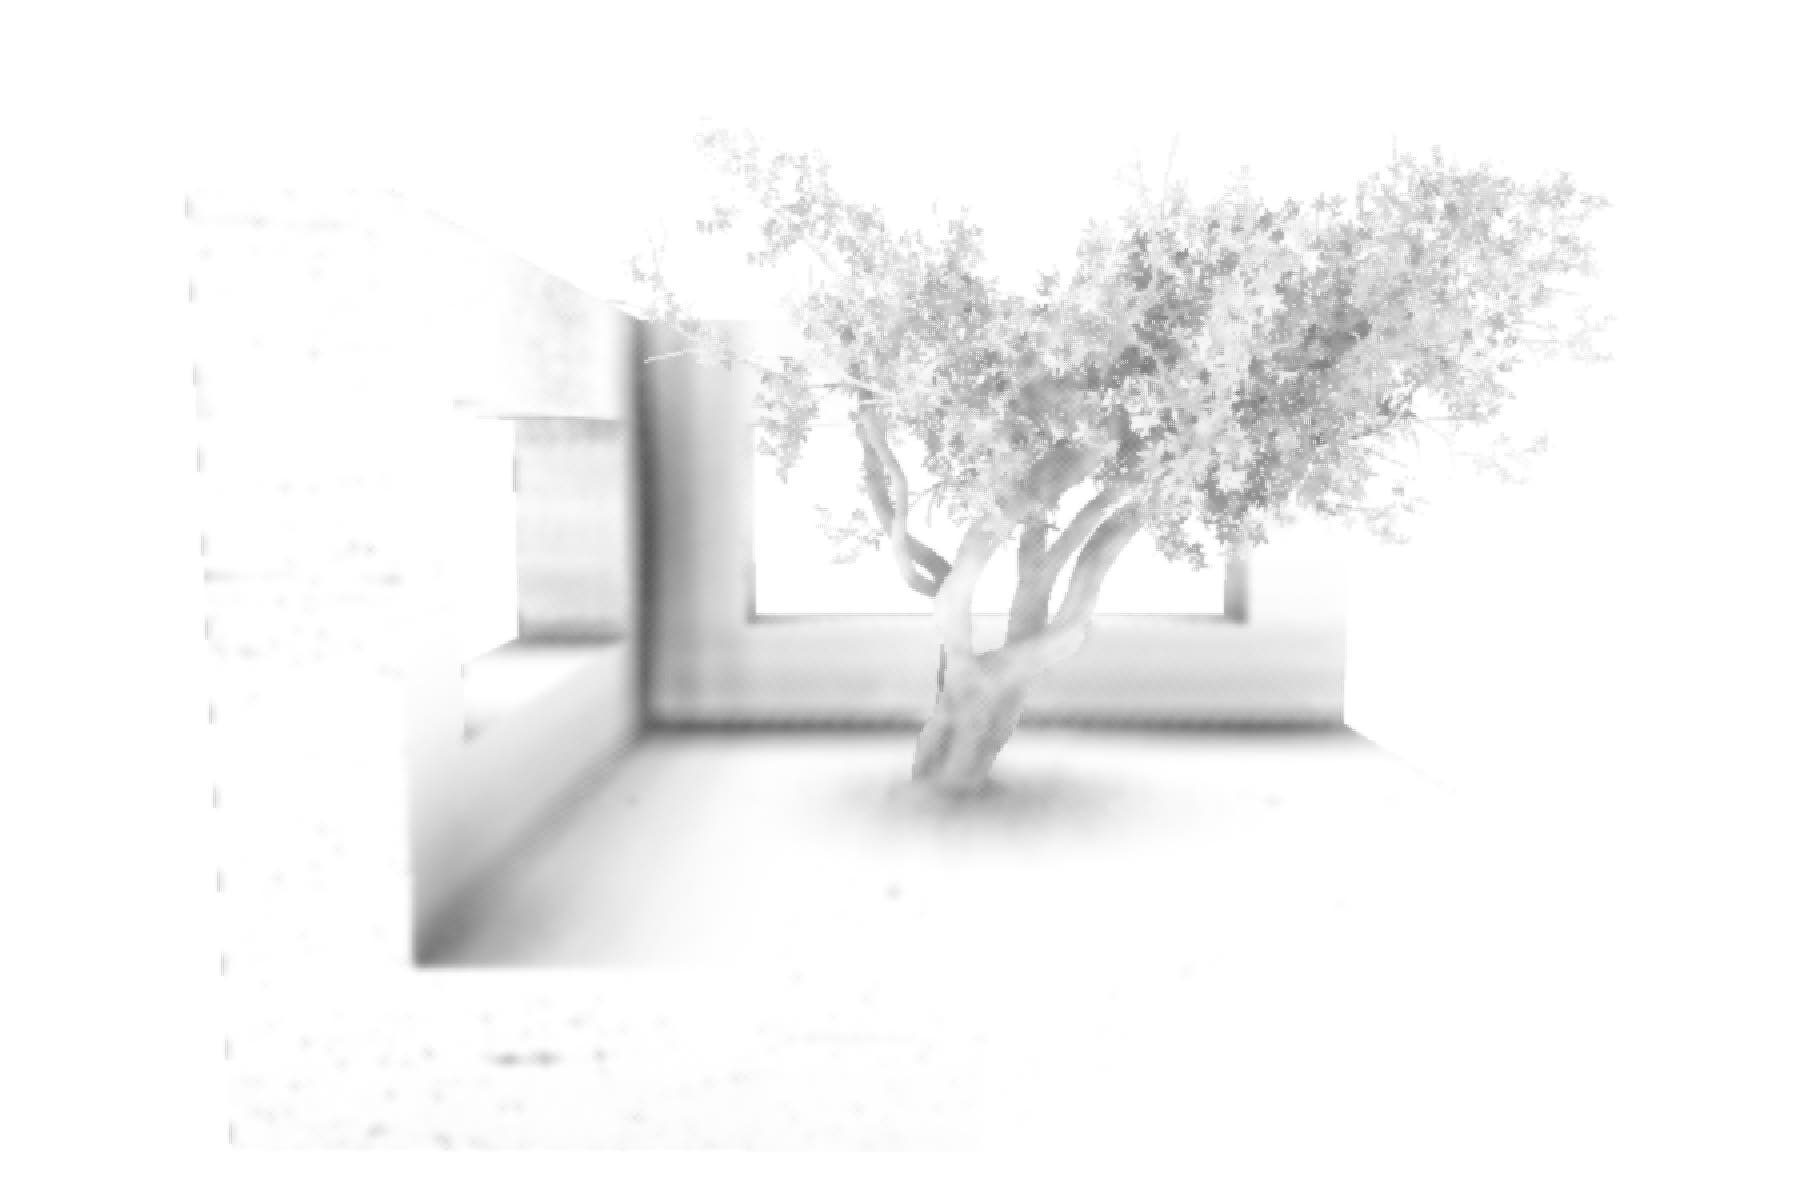
Just like SSAO, you can view the SSIL buffer independently in order to see what this pass is doing. Since SSIL is fairly subtle, this buffer is very dark; I compressed the output here to give you a better idea of what SSIL is contributing to the final image. Note the brown color (coming from the brown concrete texture) and the varying brightness, e.g. how the bottom of the tree trunk is lit by the concrete around it.
Signed Distance Field Global Illumination (SDFGI)
SDFGI is Godot’s own real-time global illumination method. As opposed to SSAO and SSIL, it actually looks at the entire scene to calculate how much lighting (and what color) a given shadowed area receives. Therefore, it produces the most accurate results:
It does this by building a simplified representation of the scene and its lighting, a signed distance field, and sampling from it. It looks like this:
SDFGI can work quite well out of the box, but it can also introduce new artifacts, and it’s quite heavy on performance, so consider carefully whether you really need it. In my go-to realistic 3D environment, I keep SDFGI disabled, and it’ll be disabled in the remaining screenshots of this article.
Baked Global Illumination
Both SSIL and SDFGI are real-time methods: they can react to altered geometry, moving lights, changing daytime, etc. However, that might not be needed for your game: if your scene is largely static and your lights don’t change, you should look into baked global illumination.
“Baking” means that you’re generating additional resources (textures or voxels) which contain global illumination information. Baking might take a while, but it only needs to be done once (whenever the light or geometry has changed), and the baked data can be shipped with the game.
Godot offers LightmapGI and VoxelGI for this. LightmapGI is entirely static; you’re essentially generating a texture which contains all the additional light and shadow colors, which is added to the scene’s regular textures. VoxelGI is more dynamic, I’d consider it somewhere between SDFGI and LightmapGI.
Baked lighting is a topic on its own and requires more hand-tuning than SSIL and SDFGI, so I won’t go into more detail here. The Godot docs have articles on the different methods, e.g. here: https://docs.godotengine.org/en/stable/tutorials/3d/global_illumination/using_lightmap_gi.html and there are other resources and videos online, such as Brackeys’ great video on 3D lighting in Godot: https://www.youtube.com/watch?v=aRdiiWpA0AA
Post Processing
Post processing means that we’re processing the image after it has been rendered. Screen space methods like SSAO and SSIL can be considered a type of mid- or post-processing. There are countless other things you could do to the final image before sending it to the screen, but there are three important ones I want to touch on here:
Glow
We talked about how brightness is perceived in the section on tonemaps. There is one additional way of communicating brightness: bright objects tend to glow: their brightness is not confined to the object’s geometry, but it bleeds outwards. This is called bloom.
We can activate glow in the environment and set bloom to a value above 0.0 to achieve this. The default blend mode of “softlight” is quite subtle; if you want stronger light bleeding, consider switching to “screen”. With the blend mode set to screen and bloom at 0.1, we get some nice light bleeding, making the scene look quite a bit brighter and warmer.
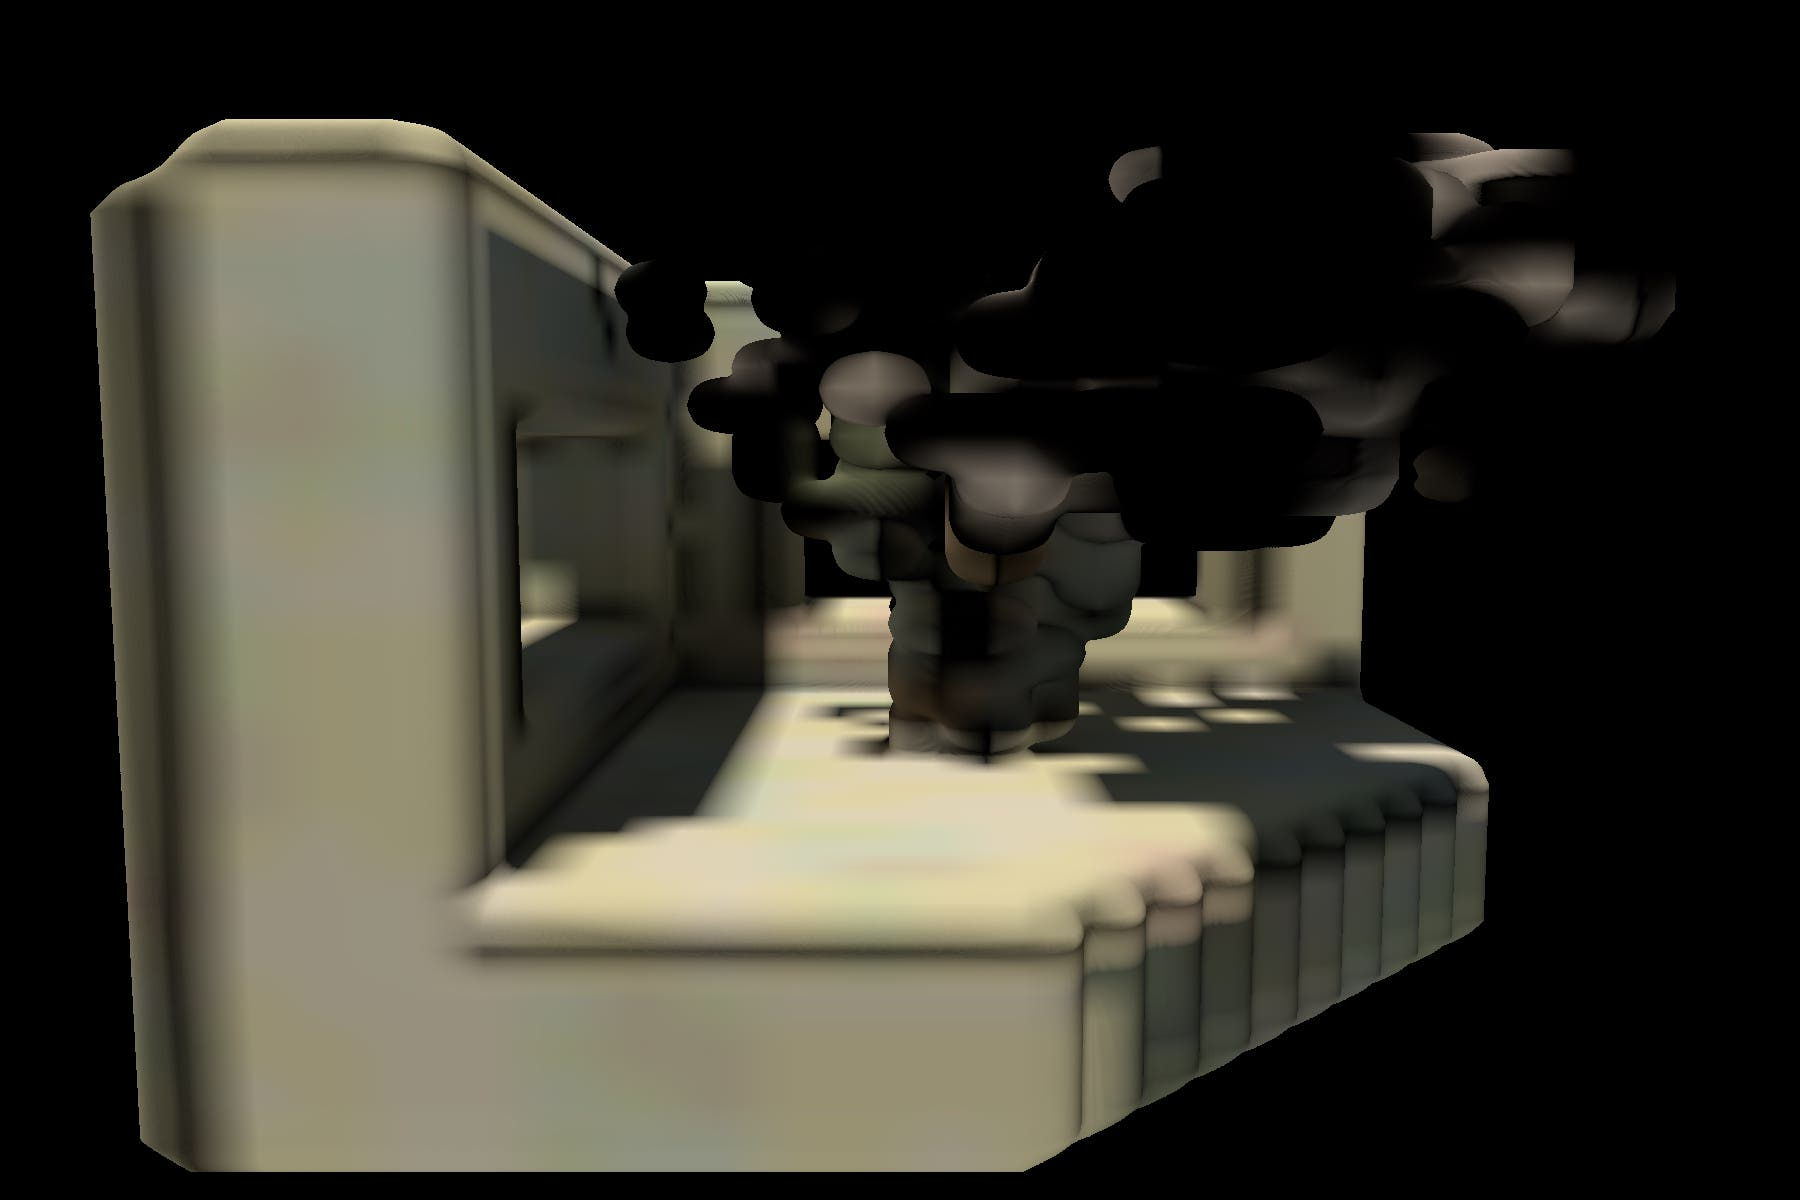
The bloom buffer looks basically like a blurred image of the bright areas of the rendering:
There are a lot of parameters you can play with to change how far light should bleed out. The Godot docs have a comprehensive article on that: https://docs.godotengine.org/en/stable/tutorials/3d/environment_and_post_processing.html#glow Be careful not to overdo it though, unless you’re going for the aesthetics of an FPS from the late 2000s.
Fog
My demo scene is so small that fog doesn’t make much of a difference, but when you’re dealing with larger scenes, you definitely want some nice fade-out and atmospheric haze in the distance. If you just want atmospheric haze while keeping the sky intact, you can activate fog and set “Sky Affect” to 0.0. You might also want to set “Aerial Perspective” to 1.0: this causes fog to blend far-away objects into the color of the sky, rather than into a custom color.
Color Grading
In the section on AgX, I noted that setting the contrast and saturation to 1.3 helps keep the scene punchy. Godot provides these easy sliders for adjusting brightness, contrast, and saturation, but you can also do proper post-processing color grading using the “color correction” slot.
By using a look-up texture (LUT), you can map any input color to any output color. LUTs are 3-dimensional textures where you input RGB values as coordinates and get a new RGB value out. For example, if you input (0.5, 0.8, 0.4), a subtle green, and the LUT has the color (0.3, 0.9, 0.2), a stronger green, at that postion, your LUT evidently turns subtle greens into stronger greens.
This might sound confusing, but LUTs are really easy to create: Just download a default LUT (which maps input colors to output colors without modifying them) and take a screenshot of your game. Then, use an image manipulation program like GIMP and change the colors of your screenshot to how you want them to look. Then just apply the same color manipulations to the default LUT texture, and you’ve created a LUT for applying your color manipulations to your entire game!
Here’s a default LUT from the Godot docs:

And here I applied (deliberately drastic) white balance and color enhancement adjustments to a screenshot of the demo scene to the game as well as the LUT and scaled the image back down to just the LUT:

You can see right here that the colors are compressed quite a bit: gradients from subtle greens to stronger greens are turned into all highly saturated greens. Just like with bloom, you need to be careful not to overdo it, or you might lose quite a bit of detail. It also depends quite a bit on your scene and the aesthetic you’re going for. This should really be the last step to getting your game to have the unique look and feel you want it to have.
Here’s what the demo scene looks with that LUT applied. Note that, as written in the Godot docs, it needs to be imported as a Texture3D with 33 horizontal slices and 1 vertical slice.

Physical Light Units
I noted right at the beginning, in the section on direct light, that Godot’s light energy units are arbitrary. This is fine for a general-purpose 3D scene setup, but in an article about photorealistic rendering, it should definitely be mentioned that there’s a way to change this: you can go to the project settings, activate “Advanced Settings” on the top right, go to the “Lights and Shadows” section under Rendering, and tick “Use Physical Light Units”. This way, you can use real-world units for specifying the brightness of your lights.
After restarting the editor, you’ll likely be greeted with an entirely white viewport. That’s because, by default, the directional light got an intensity of 100.000 lux, the average intensity of direct sunlight. This is good for realistic lighting, but you’ll need to change the camera’s exposure to compensate for this.
You can do that by going to the WorldEnvironment and adding CameraAttributesPhysical to the Camera Attributes property. Setting the exposure sensitivity to an ISO of 80.0, we get something very close to what we had before (without the LUT applied):
You might want to tick “Auto Exposure” - that way, the camera will act like a phone camera, automatically changing its properties to get good brightness and contrast depending on the light in the scene. When auto exposure is activated, you can change the ISO to alter how much contrast the image should have. Here’s the scene with auto exposure enabled and an ISO of 40.0:
The Godot docs also have a lot of detail on all the settings which these physical light units unlock: https://docs.godotengine.org/en/stable/tutorials/3d/physical_light_and_camera_units.html
And here’s another blog post about physical light units; it’s about Unreal, but helpful for Godot too, and contains some lux values for common lighting situations: https://www.siliconstudio.co.jp/middleware/enlighten/en/blog/2019/20190322/
I hope this helped to make the entry into realistic 3D graphics in Godot a bit easier. Good luck with your project!